About Magnetic Map
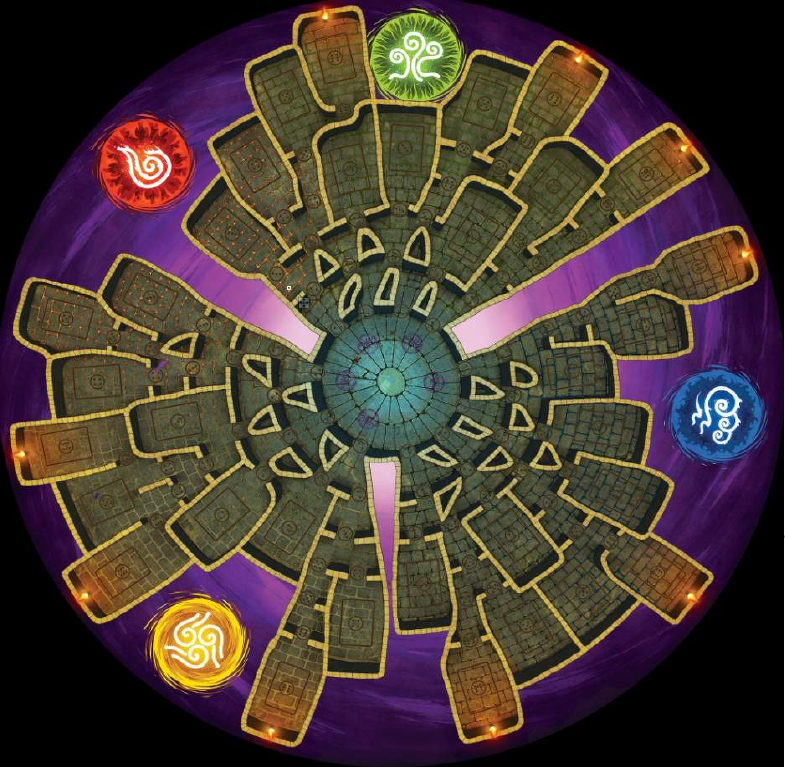
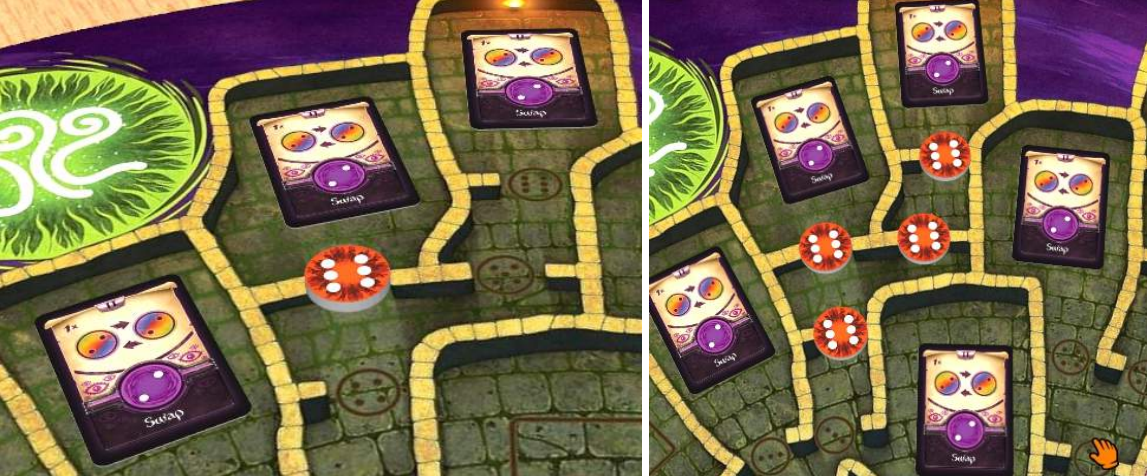
Magnetic map allows for automatic alignment and rotation of chosen types of objects placed on the map. Its purpose is to ease the positioning of objects on the game boards and cards.
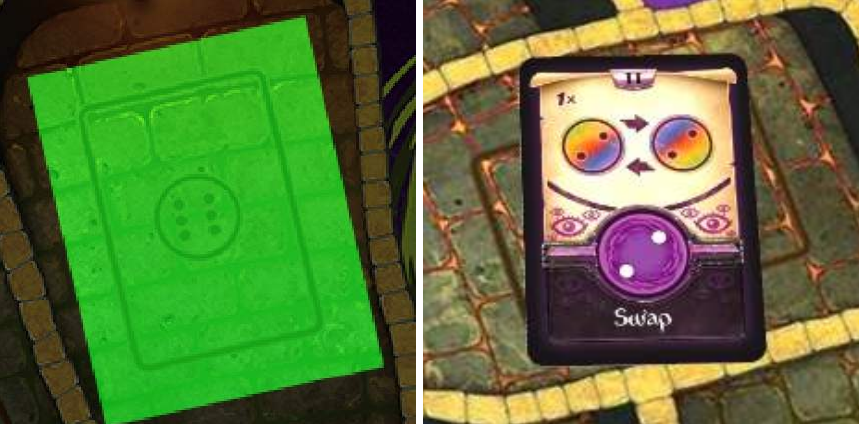
When a user drag-and-drops an object above the magnetic map cell, this object is automatically placed into the center of the magnetic cell.
Features of the magnetic map:
- Magnetic map can be attached to the game boards, cards, or tiles.
- Cards, tiles, tokens, game pieces, dice, and counters can independently interact with magnetic map.
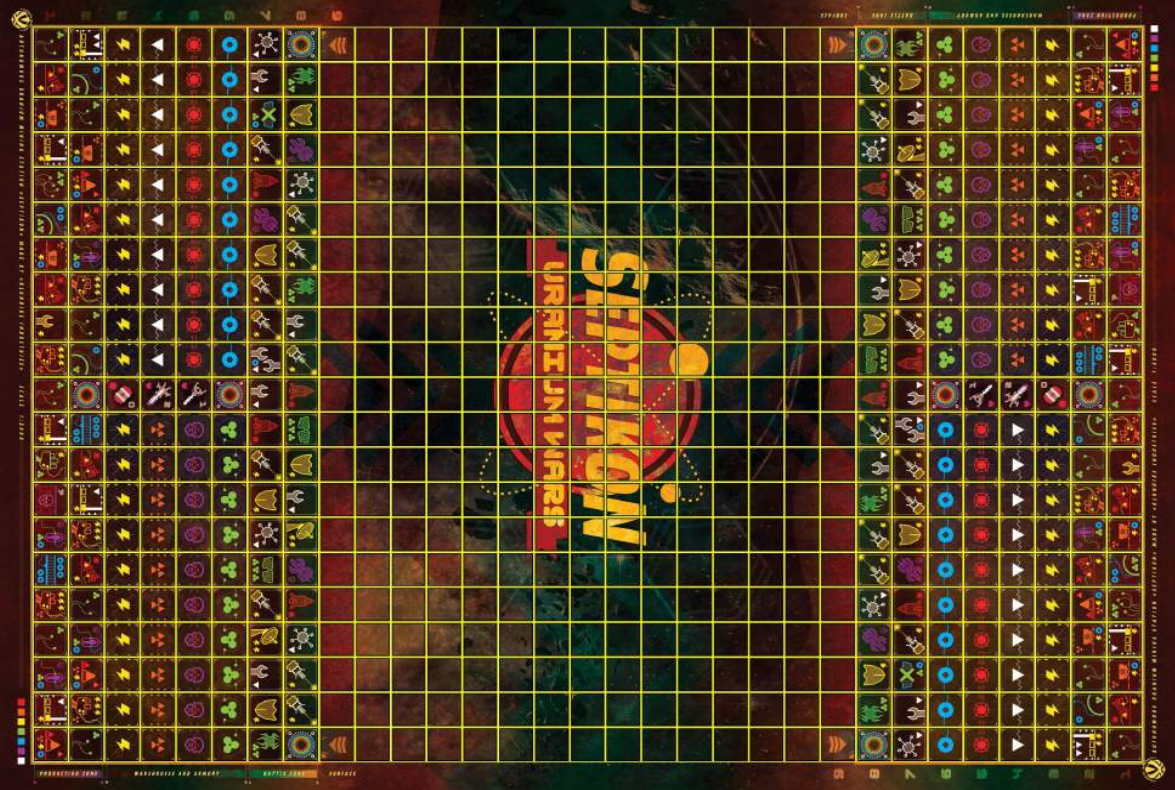
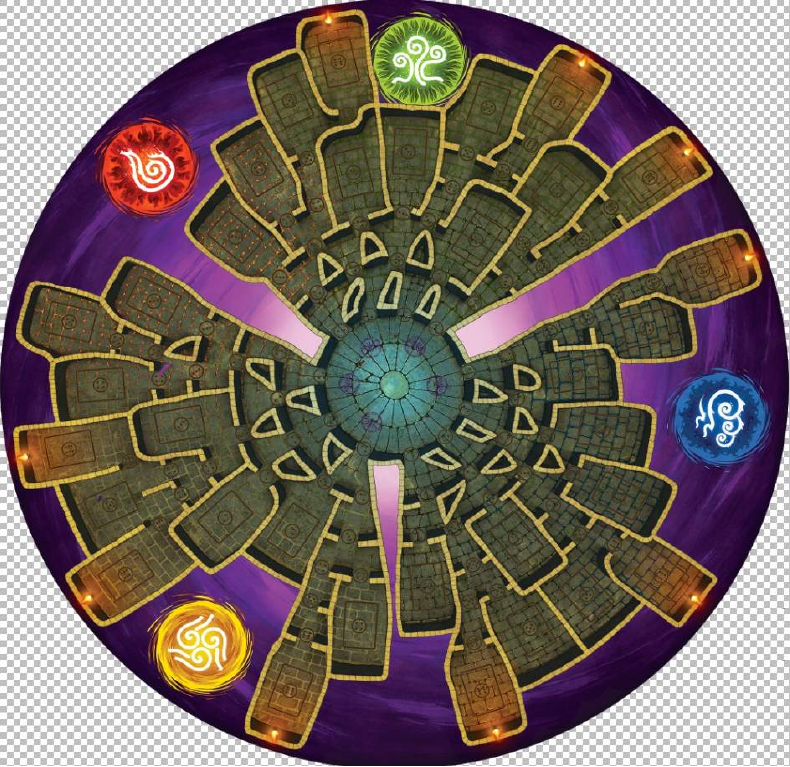
- Magnetic map can be rectangular or round.
- Angle of automatic rotation can be set for each cell of the magnetic map.
- An object can be automatically flipped to the specified side (front or back) when placed on the map.
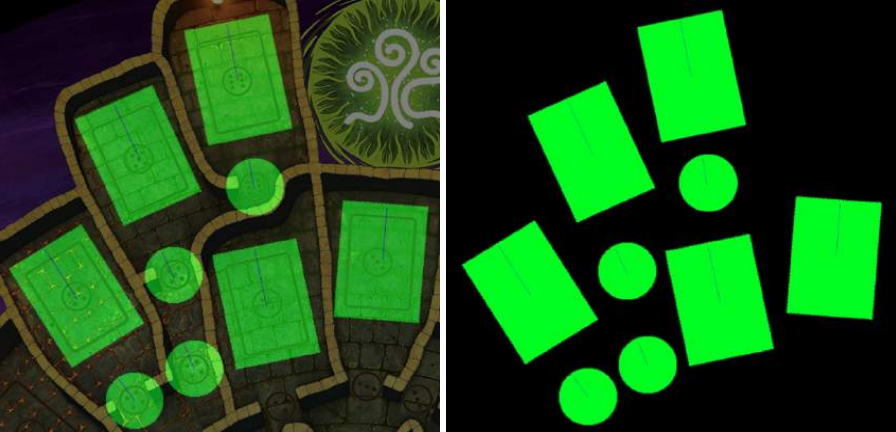
Examples:
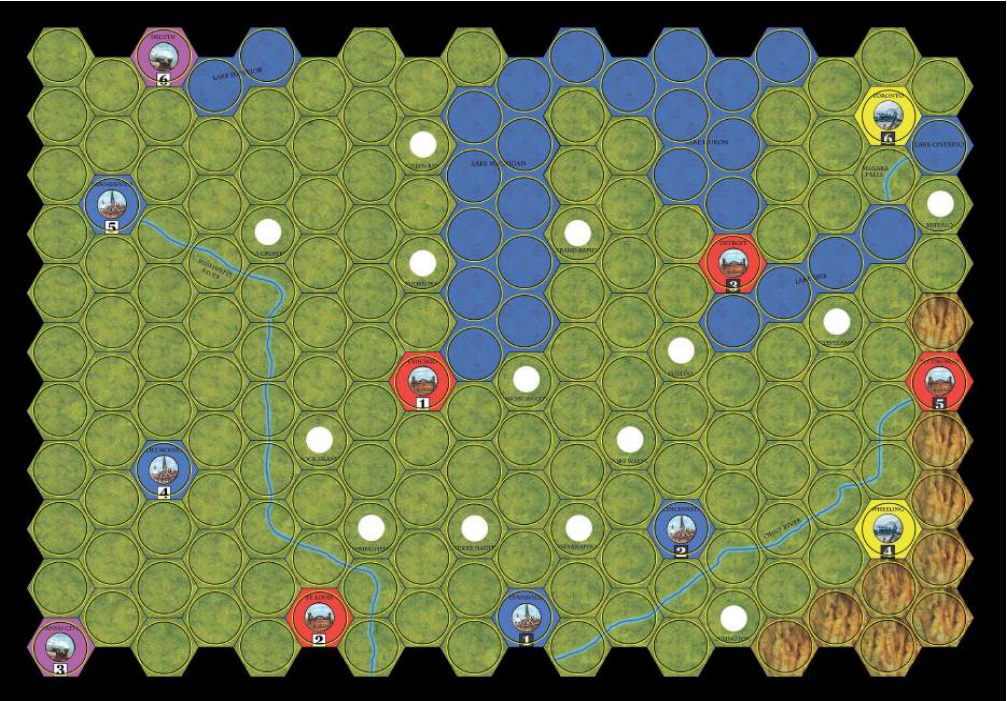
Creating a Magnetic Map
Magnetic maps need to be created beforehand in a graphics editor and then uploaded to the Tabletopia. Magnetic maps can be created for game boards, cards, and tiles.
To create a magnetic map:
- Open the graphics file of an object which will use a magnetic map in a graphics editor which allows for using layers and exporting to PNG or JPEG files, e. g. GIMP, Photoshop or Paint.NET. Use only RGB color model for correct work.
2. Create a new background layer and fill it with black color.
3. Make the initial image semi-transparent.
4. Make the background image active.
5. Draw magnetic cells using the tools of the image editor.
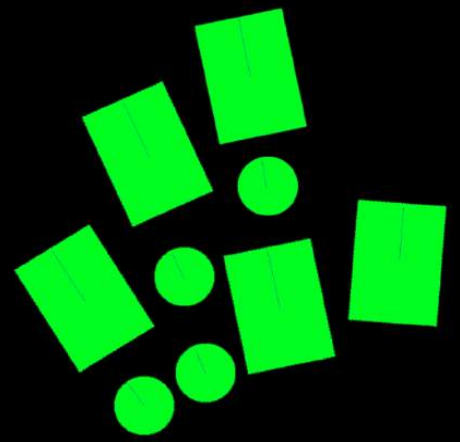
6. After you have done drawing, remove the initial image. Now you have only the magnetic cells painted on the black background.
Important Notes About Magnetic Cells
- Magnetic map colors should be on their maximum – red (#ff0000), green (#00ff00), blue (0000ff), black (000000). Also, make sure that ant-aliasing is disabled.
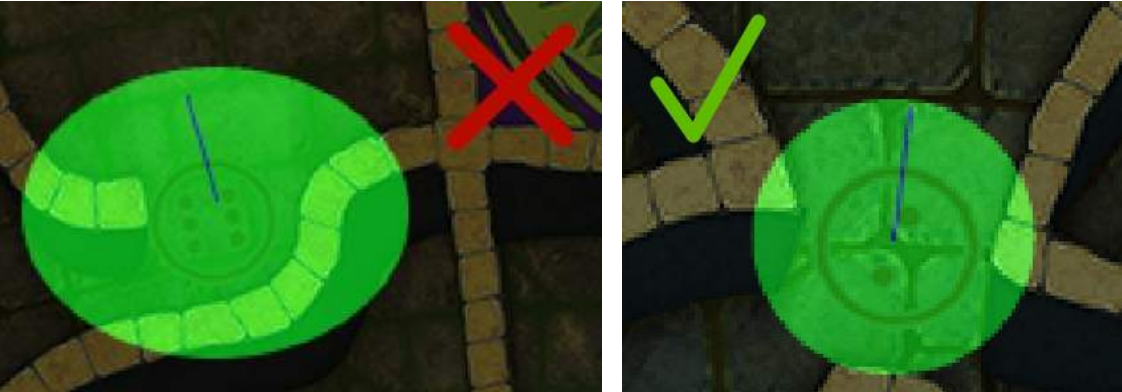
- Only rectangular and round shapes are allowed. Other shape will lead to incorrect recognition of the magnetic cell.
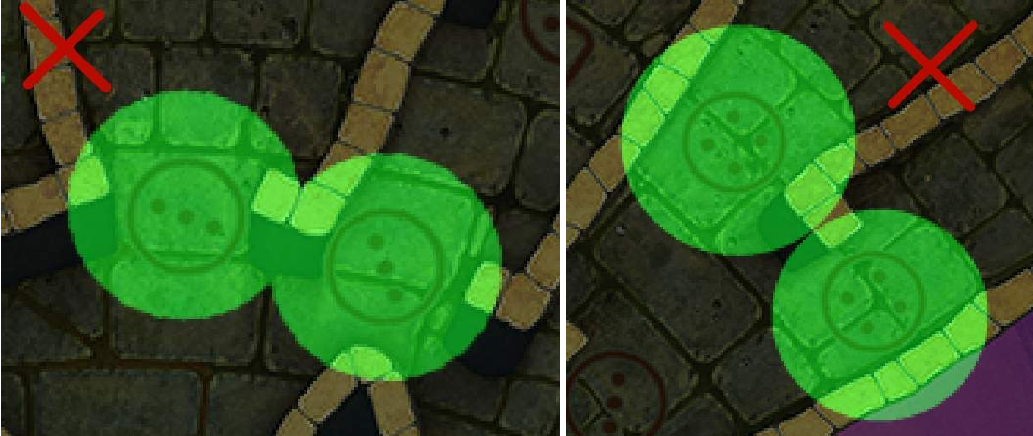
- Magnetic cells must not merge, there must be at least one pixel distance between them. Cell intersection will lead to incorrect recognition of the magnetic cells.
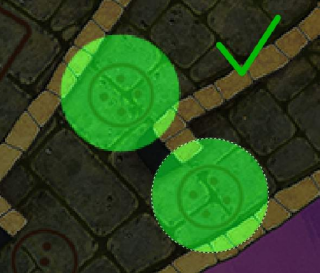
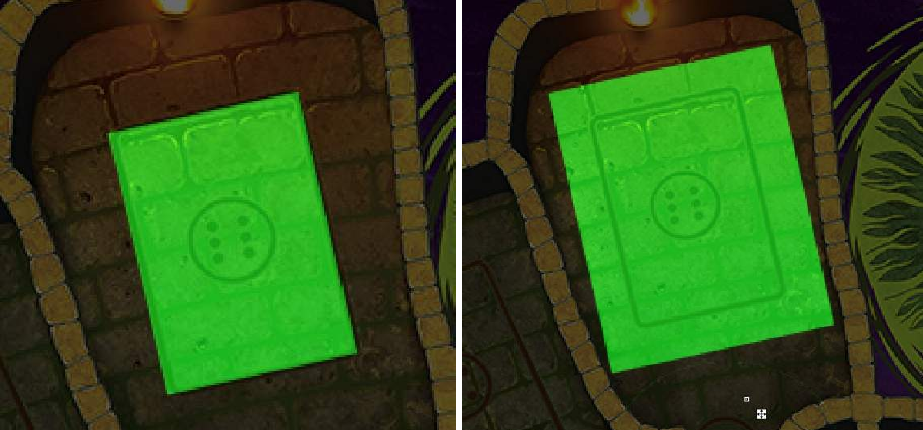
- You can create a cell of a larger size than the marked zone on the initial image. But the center of the cell must coincide with the center of the marked zone.
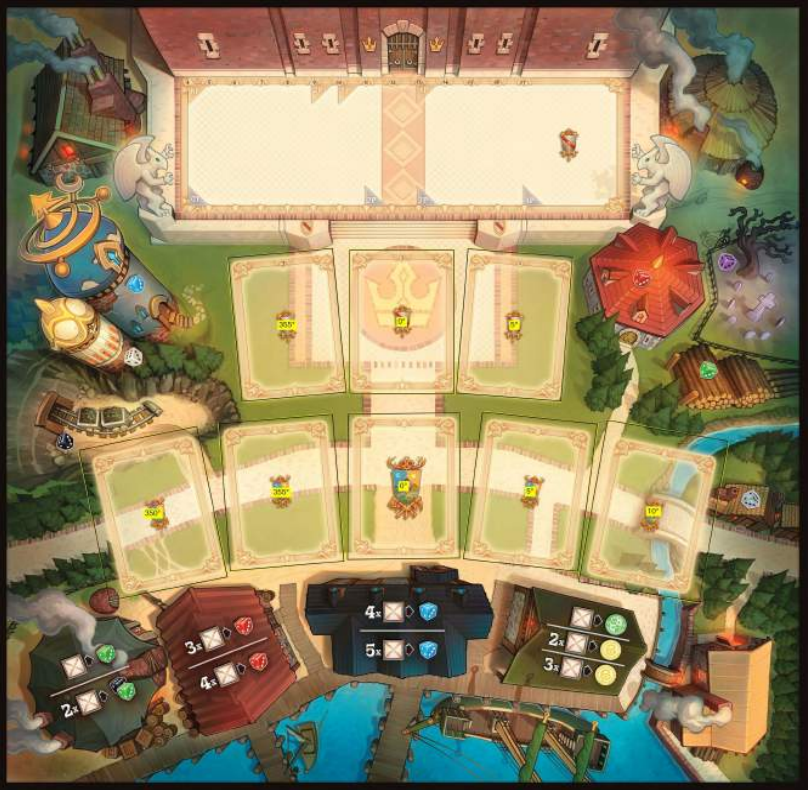
Color of Magnetic Cells
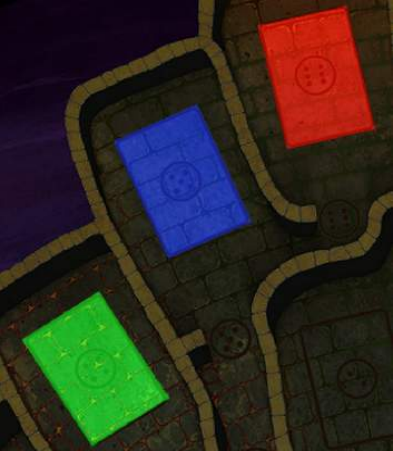 The color of the magnetic cell defines whether the object should be automatically flipped to the specified side (front or back):
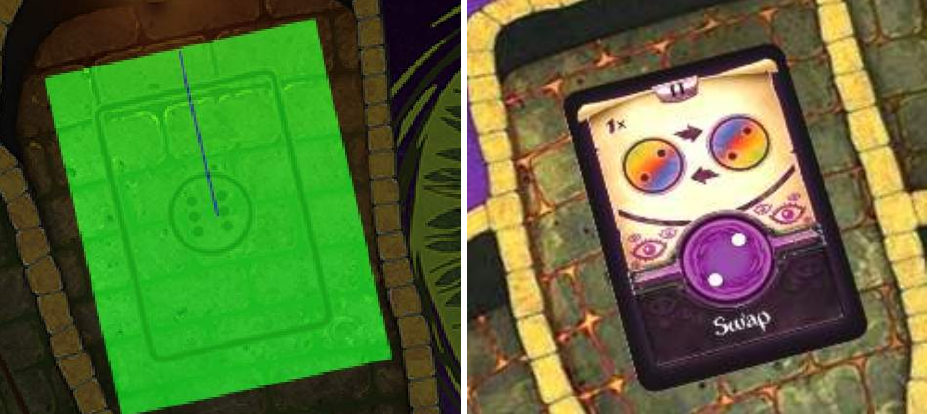
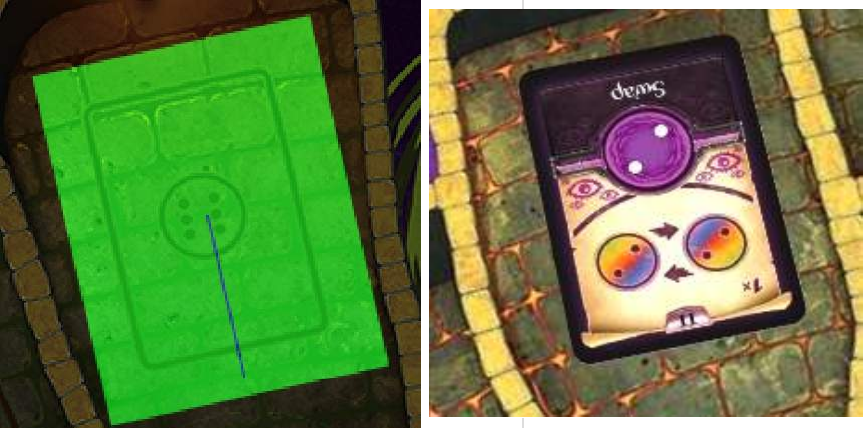
- Red color cell makes the object automatically placed front side up.
- Blue color cell makes the object automatically placed back side up.
- And when you use green color on magnetic map – cards will not flip on this place.
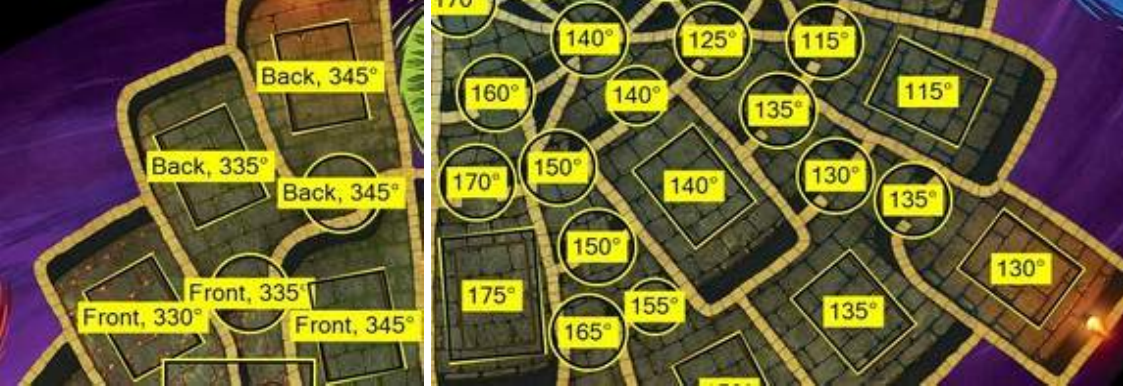
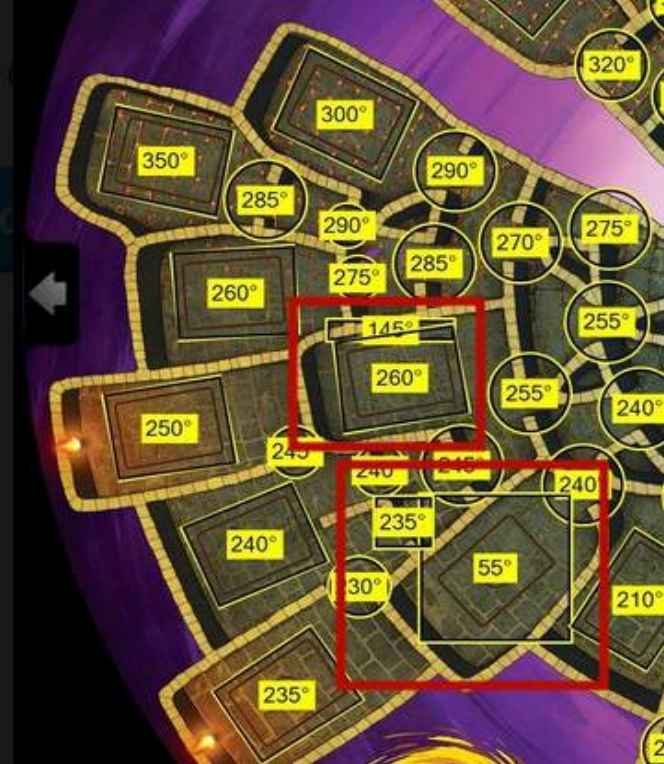
Automatic Rotation
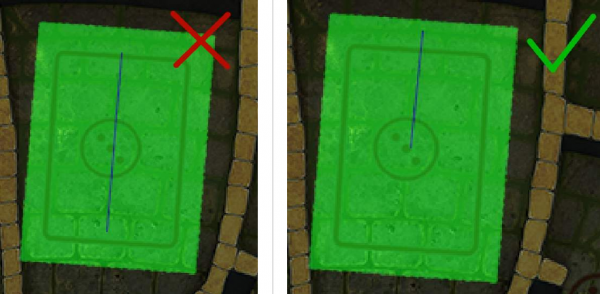
When creating a magnetic map you can set a degree of an automatic rotation of the placed object. Draw a vector to do that:
- The vector must be exactly 1 pixel width.
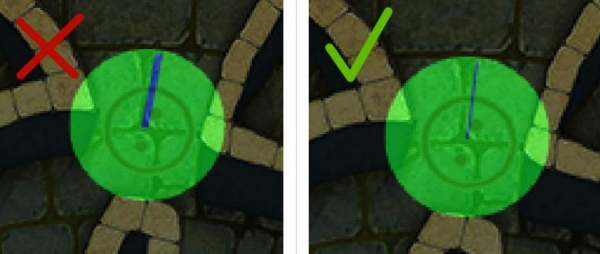
- Use any color but black and the color of the magnetic cell.
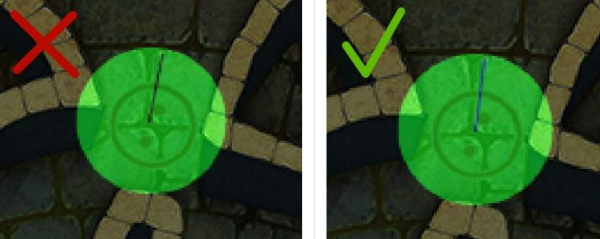
- The vector must be drawn roughly from the center of the cell to one of its sides.
Tip: If you need to place many identical cells, just copy the cell and paste it many times, adjusting the rotation degree when necessary.
Examples:
If there is no vector in the cell, the placed object will not be rotated when players place it down.
Adding Magnetic Map to Object
- After you have finished drawing the cells, remove the initial image. Now you have only the magnetic cells painted on the black background.
2. Export or save the image to a .PNG file.
3. Go to Workshop on Tabletopia.
4. Create new (click Create Object in Workshop) or edit an existent game board, card, or tile which will use this magnetic map.
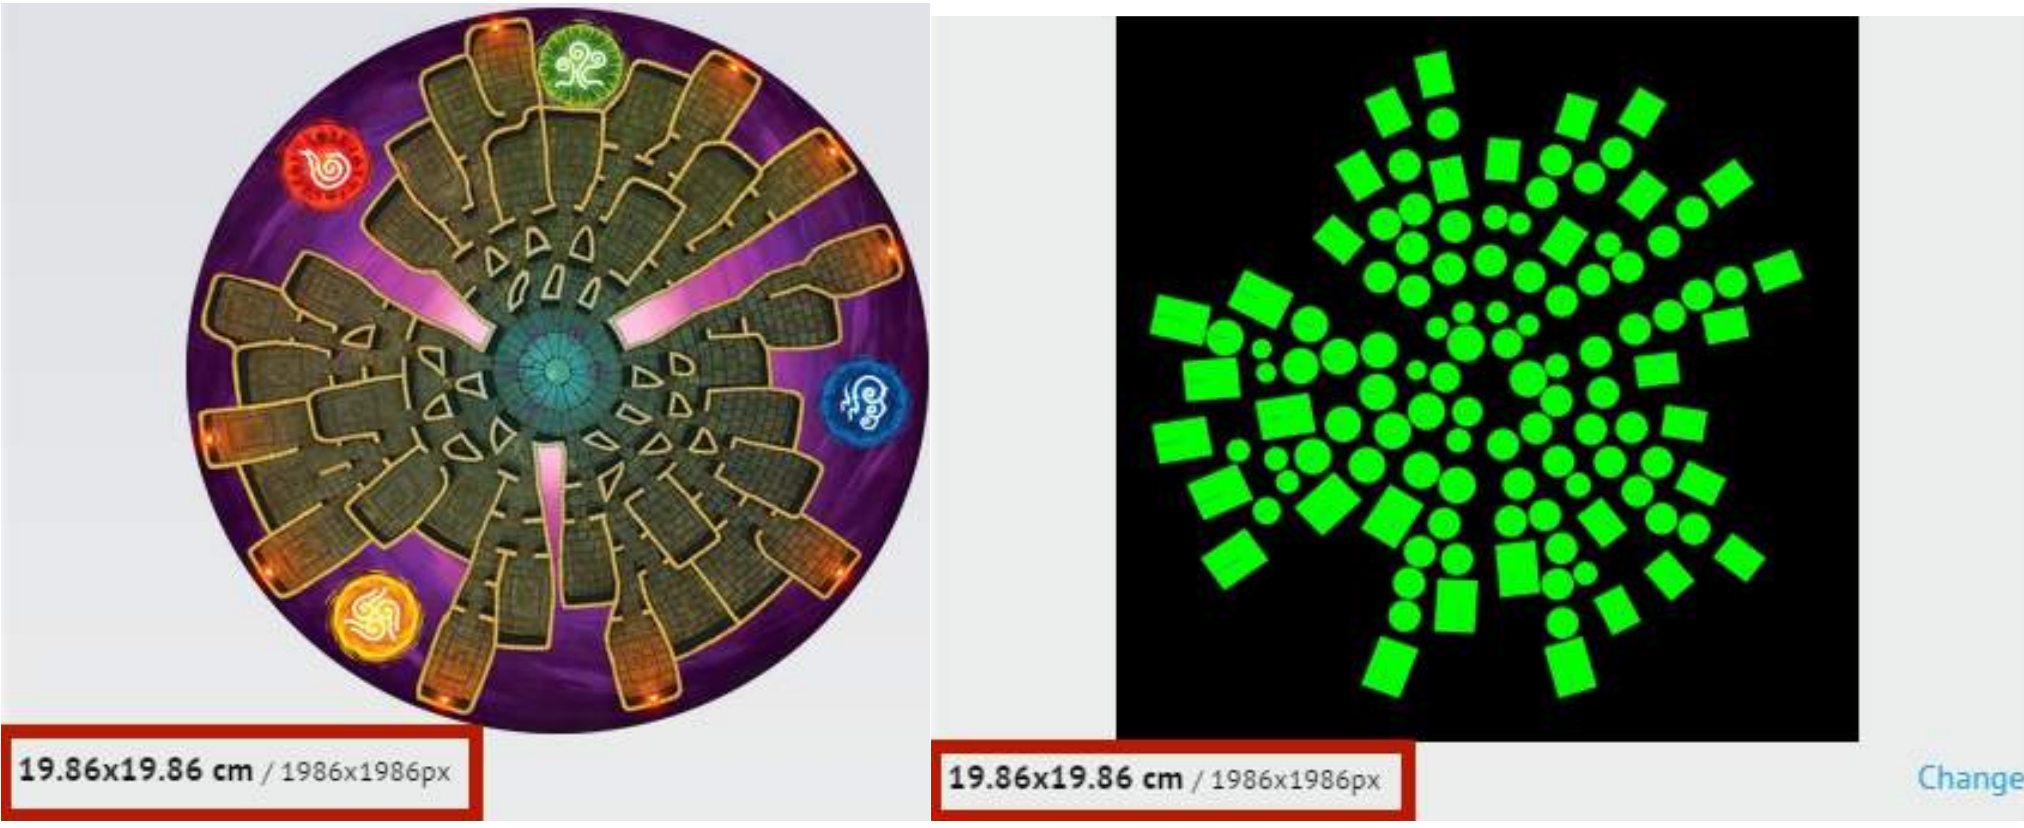
5. Click Configure Magnetic Map in the object’s window and upload the magnetic map image. Note that the size in pixels of the initial image and its magnetic map must be exactly equal.
6. Click Publish and wait until the magnetic map preview is generated. Open the generated preview image and make sure all the magnetic cells and vectors are set correctly.
7. Add the object to the setup (see Game Setups) and check it again by placing the objects on magnetic cells. If there are any errors, make corrections in the graphics editor and upload the image again.
Congratulations! Your magnetic map is complete.