About Game Setups
In real life you set up games anew each time and choose the game components you need depending on the number of players and some other factors.
With Tabletopia, we want users to start playing right away, so all games must be already conveniently set up and ready. When players choose a game to play they should also be able choose a setup that suits them best.
In Tabletopia you may create numerous setups for each game. And most times you will want to do so to take care of the following points:
- Unique components for different numbers of players. Some games have boards and other components that scale up or down depending on the number of players, so you need to create separate setups for each number.
- Language dependent components. If the game you are creating is language dependent and has much text, you might want to create separate setups for each language you support.
- Special variants/modes of the game. Some games have variants that are played with modified rules or a changed number of components (e.g. setup for beginners or for particular variant of play).
- Paid and free setups. Your game may be split into several free setups (in the free catalog) and paid setups (in the premium catalog). See About Free and Premium Games for details.
Creating a Setup
Each setup defines:
- Game objects which are used in the game.
- The arrangement of game objects on the table.
- Settings, style etc. of this game table.
- Access level defines who is able to see and play this setup.
To create a setup:
- Go to your game page (Workshop > My Games > “Your game name”).
- Click Create Setup. A new setup page is opened.
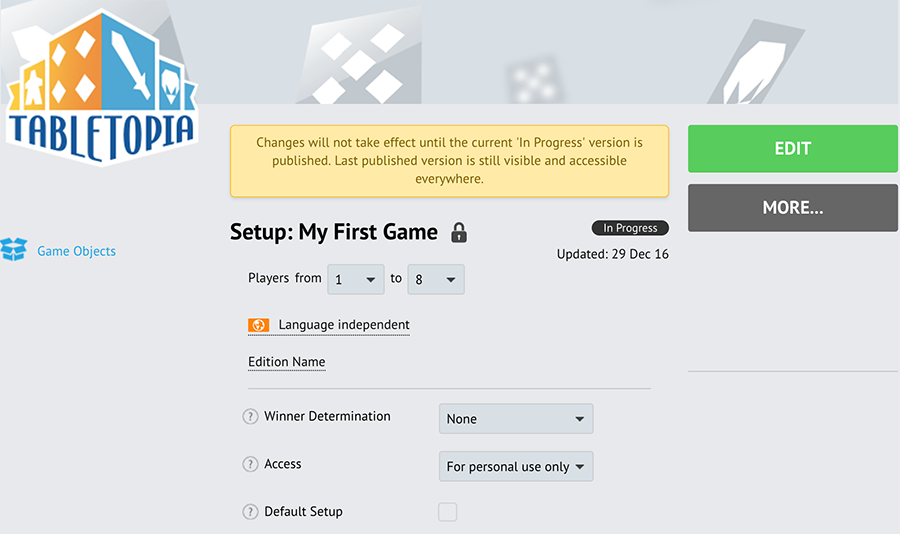
- Specify the following features. All the options may be changed later on when you need to do so:
- Number of players. The more players you set, the more player seats are available in the setup.
- Language dependency. The setup may be language independent or may have some particular language set, depending on the game objects you are going to use. Note that the languages of your game displayed on the game page are determined by the languages of game setups you created for the game.
- Edition is the only optional parameter among these four and it is not used very often. For example, if you create a special version of the game for beginners, it makes sense to name it here accordingly.
- Winner determination mode. Choose among available: None, Victory points, Victory & Defeat, Cooperative.
- Access level for this setup. Select ‘For personal use only’ for the setups which you are not going to publish yet; “Available to all users”, for setups ready to be published.
Setup Statuses
Typically a setup goes through several states before it gets published.
![]()
- In Work: The first and the initial state of a setup. The setup is not visible to other users and can not be played. If you save the setup (without publishing it), the ‘In Work’ state will be kept.
- Publishing: A technical step, which is needed to gather all the necessary resources into one setup file and optimize them after you publish it. Usually it takes from a few seconds to several minutes to complete this step after you click Publish on the setup page.
- Published: A setup in this state can be played and accessed by other players. When the setup is published, it automatically receives a new increased version number and a new publication date. Note that a setup with its access level set to ‘For personal use only’ will be accessible only to you and other players whom you send the link. See also Opening and Sharing Games.
Important: If you change and save (without publishing) an already published setup, a new version of it will be saved in the ‘In Work’ state. Note that other users may not access this new version, they may see only the old published version. Publish the setup to make the new version visible or to change the Access level of the setup.
Setup Name
![]()
The name of each setup contains useful information about it:
- Number of players.
- Language dependency. ‘Indep’ means language independent.
- Name of edition, if available.
- Size in megabytes.
If there is an already published version of the setup, the name becomes a link to this version.
Access Level Icons
- Locked
 setups are Private and visible only to you and the administrators.
 - If no icon is displayed, the setup is Public, so other users can play it but they cannot duplicate or modify it.
Note that if you need your setup to be visible for others or to be duplicable, you must also set the correct access level to your game (see Opening and Sharing Games article for details).
Editing a Setup
To create your setup, click Edit on the setup page to open the game client in your browser.
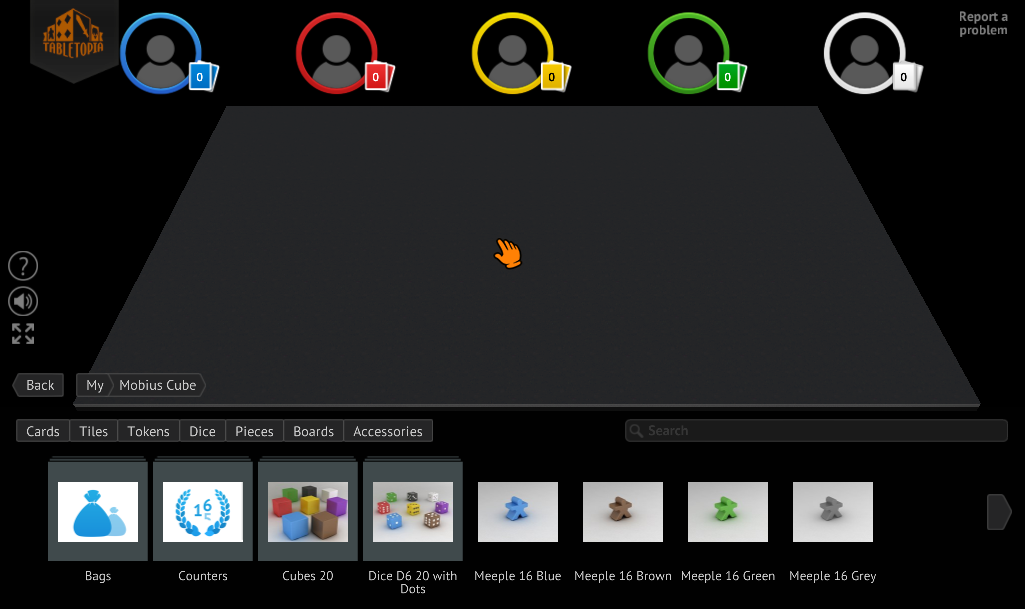
When the game client finishes downloading your setup, the following elements are displayed on the screen:
- Number of player seats equal to the maximum number of players you defined for this setup.
- The default universal rectangular grey table (80х120 cm) placed in the main area of the setup editor.
- The Objects browser containing only published objects you have in the “My” section of the game folder. By default it shows the opened corresponding game folder.
Tip: Do not forget to publish your objects first if you want them to be available in the setup editor.
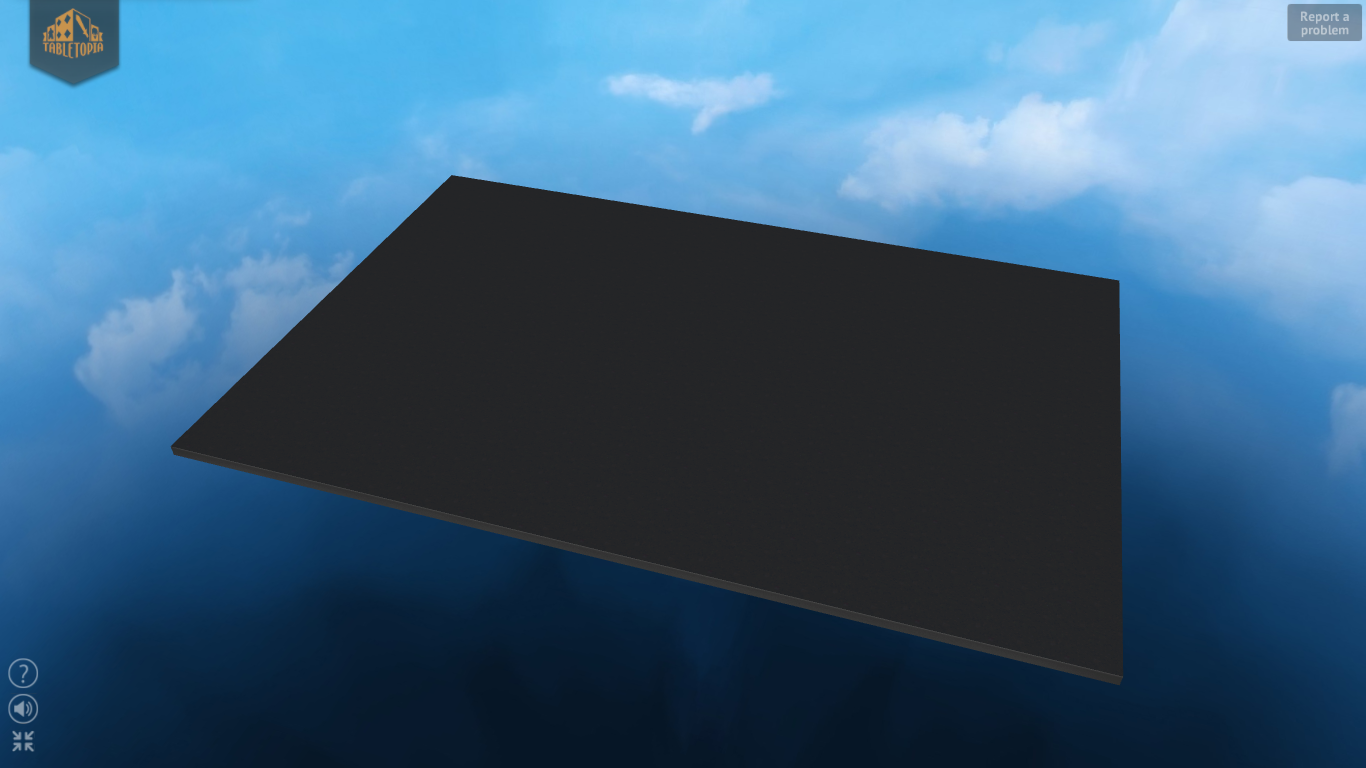
Adding and Managing Table
The first and very important decision is how to arrange the space on the game table for all the game objects and for all players. If you haven’t yet picked a table in the catalog, you can do this now in the Workshop (in another browser tab, for example) and then click your group in the editor to reload the contents.
Our catalog features three categories of tables:
- Rectangle tables
- Round tables (with oval shape)
- Borderless (surfaces)
After you find the table you like, drag it from the catalog to the center of the screen to replace the current table.
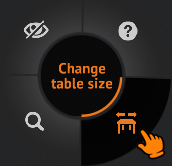 To change the size of the table:
- Right-click te table and select Change Table Size in the dial menu.
- Set the width and length it in the pop up dialog window.
Get more information in detail about tables and surfaces in the article Tables, Surfaces and Skyboxes.
Setup Editor

The lower part of the setup window contains an object browser. This browser contains all the objects and subgroups you added to your game folder or created previously. Note that the newly created objects must be published to be visible here.
- To browse between your catalogs, click their names in the navigation bar or use Back button.
- To find a specific object, use filters of object types.

Managing Objects
 Various actions are available in the setup editor.
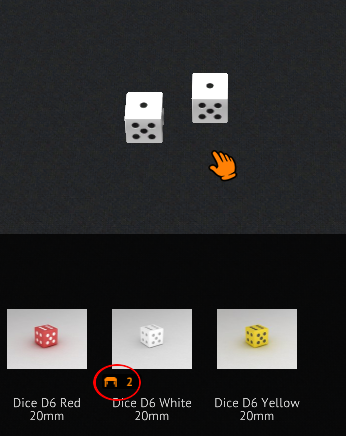
- To add an object to the setup, drag and drop it to the table from the editor. Note that when you are adding objects, the total number of these objects is shown in the object browser. This number is saved in the setup, so you always can see it while editing the setup.
Now you can start manipulating the object to prepare it for the game. All objects in the setup editor are manipulated in almost the same manner as in the player client, see Interacting with Game Components.
- To zoom an object, double-click it or press ‘Space’ on the keyboard.
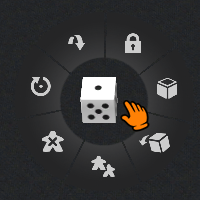
- To manipulate an object, right-click it and choose an action from the dial menu. You may move, rotate or flip them, set up stacks, etc.
There are also some special features available in the setup editor only:
- Duplicate. Use to create another copy of the object on the table. It is possible to duplicate several objects at once:
- Select all object while holding Shift.
- Right-click and select Duplicate.
- Remove. Use to delete the object from the setup. It is also possible to delete several selected objects at once:
- Select all object while holding Shift.
- Right-click and select Remove.
Tip: You cannot remove a table, surface or skybox from your game. But you can change it. Drag a new one from the object browser up to the main editor area to make the change.
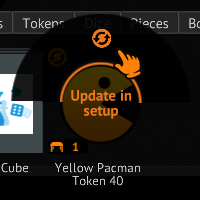 If there is a new version of an object available, it is indicated with a special update icon
 ![]() in the object browser.
in the object browser.
- To update an object, right-click it and select Update in Setup in the dial menu. The system will change all the objects in the setup to the newest version.
Managing Player Seats
You can set up player seat colors, order, cameras, etc. in the setup editor.
Managing Seat Colors
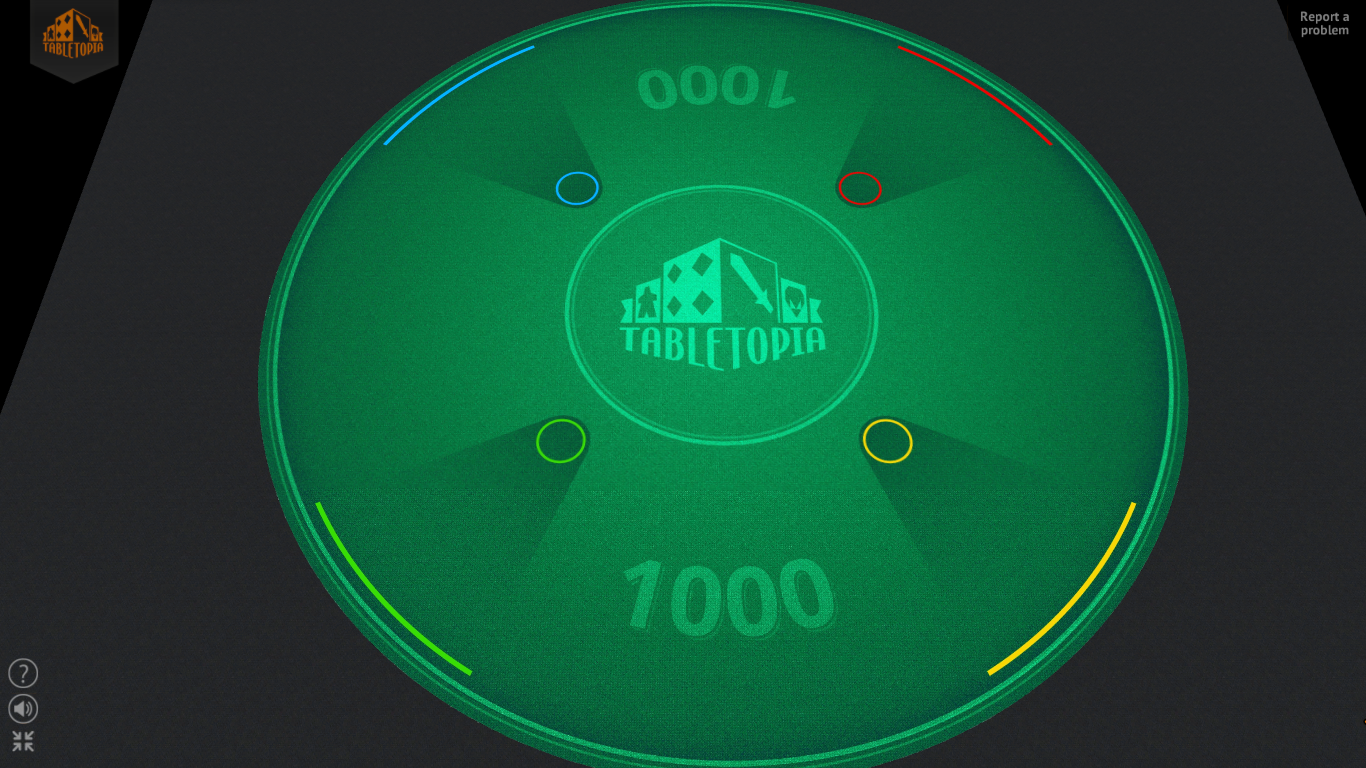
By default the system allows the following seats and colors in this exact sequence:
![]()
 This means that for a two-player setup you will get two seats by default: blue and red. If this is not appropriate for your game, youcan change a seat sequence.
To change the seat color:
- Right-click a seat.
- Select the required color from the palette.
Note that the host of the game will be able to change settings during the game. So it will be possible to randomize colors and seat order for all players.
Marking Players on the Board
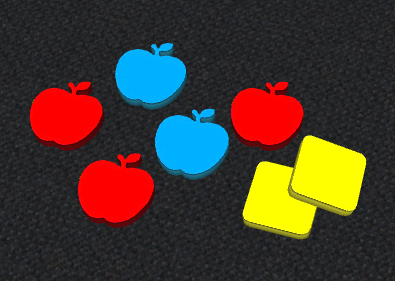
In real life everybody knows where they are sitting and where all their gaming stuff is placed, but in Tabletopia it is not always so obvious, hence it is a good idea to mark each player zone with a game board of a corresponding color or at least with a colored player marker.
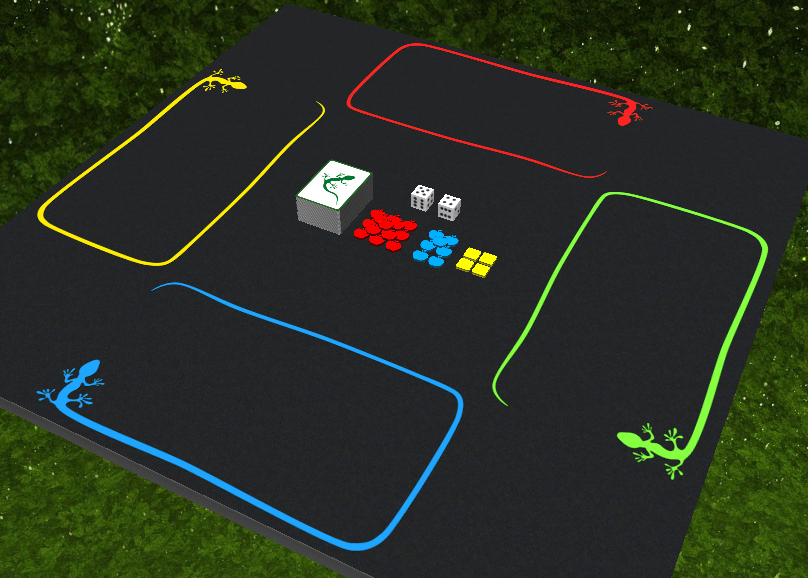
You may create custom objects to mark zones or choose from our Featured Game Objects.
Tip: Please, pay attention to place player’s zones on the table in the same sequence as the player’s seats are shown.
Setting Default Cameras
In real life players usually are seated opposite each other, but with Tabletopia things are different, since the players are looking at the screen.
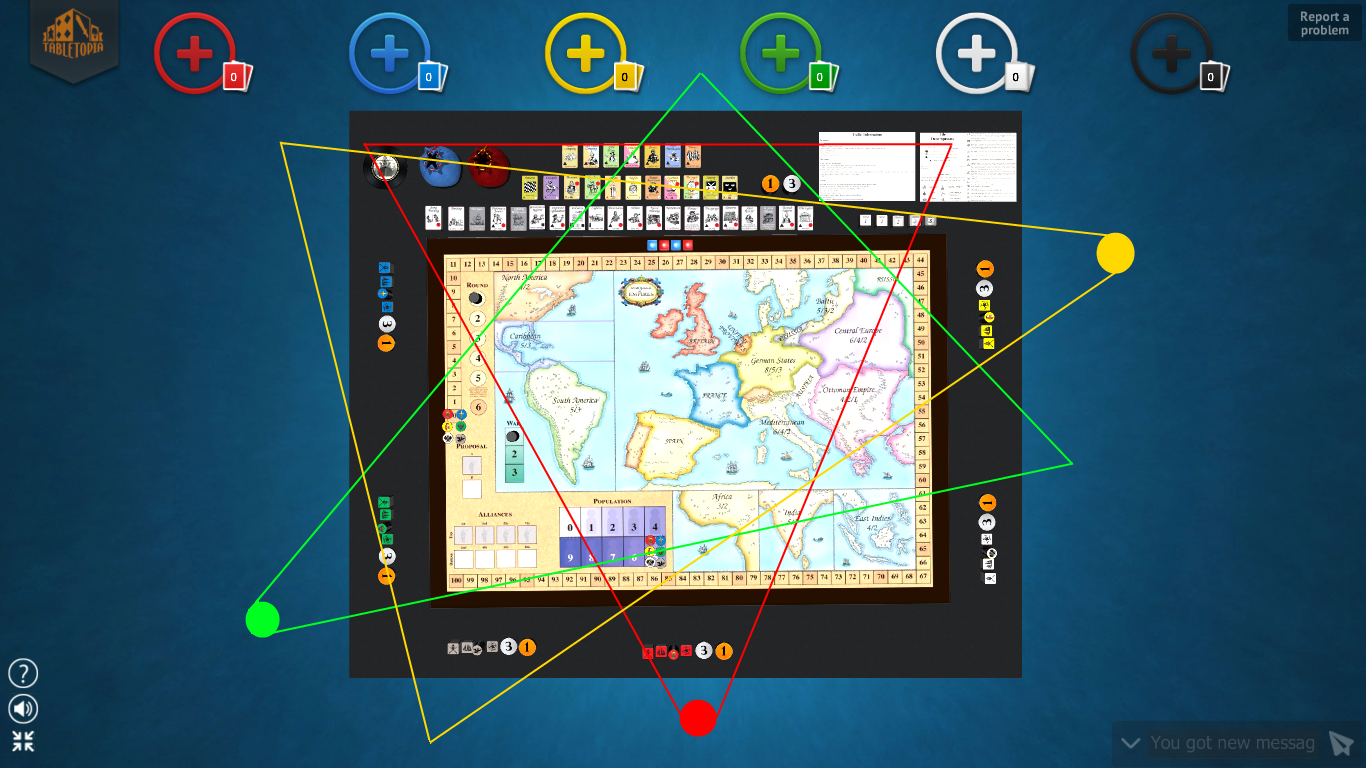
When each player has some of their objects on the board, it is better to set up the camera view from the perspective of a real player sitting near his game components and looking on the game board in most cases.
 To set a camera view for each seat:
- Adjust the camera to the desired position.
- Right-click a seat and click Save Seat Camera.
To check that the cameras are set in the right positions, right-click a seat and select Go to Seat Camera for each seat.
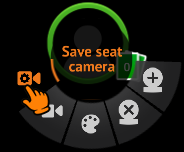
Customizing Setup
Depending on the game you create you may need to add some special settings: set actions allowed to do with objects, set object size in player’s hand, make objects stackable, magnetic, etc. 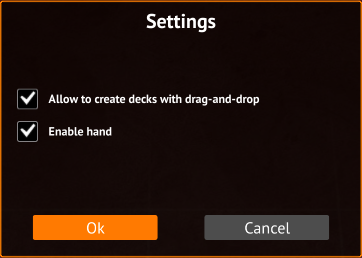
To customize your setup, click Tabletopia logo in the upper left corner > Settings:
- Allow to create decks with drag-and-drop: allows you to create new stacks for cards, tiles and tokens by dragging one object on top of the other in the game.
- Enable hand: enable player’s hands. Many other features will be implemented later on, e.g. a turn based mode and others.
Keep in mind the size of graphics you use for the game. Usually the setup you create should be no larger than 20 MB, but it is unpacked to a much bigger size on the player’s computer and it might therefore be laggy on some older computers. Read more about graphics in How to prepare graphics.
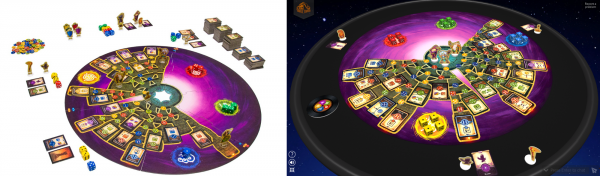
Appendix 1. Creating Atmosphere
Graphics from your original cardboard version of the game are very important but you can do so much more to create a special atmosphere in your game.
- Add custom sounds for your game objects.
- Place a music box on the game table. It will play custom music during the game.
- Choose one of the available skyboxes from the library or create your own.
- Create a custom surface for the table. You can create and use a special game board the size of the entire table. See How to prepare graphics and Tables, Surfaces and Skyboxes for details.
- Replace some standard game object with custom components. We recommend using tokens of different shapes. They are very useful and flexible: you may set any shape, any thickness and use custom colors for them.
Also see our Usability Guide for Creating Games on Tabletopia for more information.