You have registered your account in the system and now you are going to start creating your first game in Tabletopia. It is not a really difficult task if you have your graphics prepared in the form of standard prepress or print and play files. Usually, it will take only a few hours to adapt the graphics, upload them into our system and build setups for the game. We recommend browsers Chrome and Opera GX for comfortable work.

Tip: Consider playing several other games before creating a new game yourself. It may help you understand how the system works and learn some design tricks.
Preparing the Graphics
First of all you need to prepare all the game graphics. This process includes creating a number of graphics files, each containing one of the sides of your game components, i.e. objects that players will interact with during the game.
Example: To create a virtual card that looks exactly like a card from your game, you will need to load two graphics files into our system: the front and the back side of the respective card.
Complete the following steps to prepare your graphics files:
- Choose the types of Tabletopia’s digital objects you are going to use to represent your game components. Each of them has different features which are described in detail in the article Types of game objects.
- Adapt the size and select the right graphics file format. Tabletopia allows JPEG and PNG graphic files. Usually JPEG delivers a smaller file size and PNG allows for using transparency. Transparency is a must-have when you are dealing with components of non-rectangular form. Read more in How to prepare graphics.
Creating the Game
After preparing the graphics files, you are ready to proceed with creating your game:
 Go to Workshop.
- Click Create New Game.
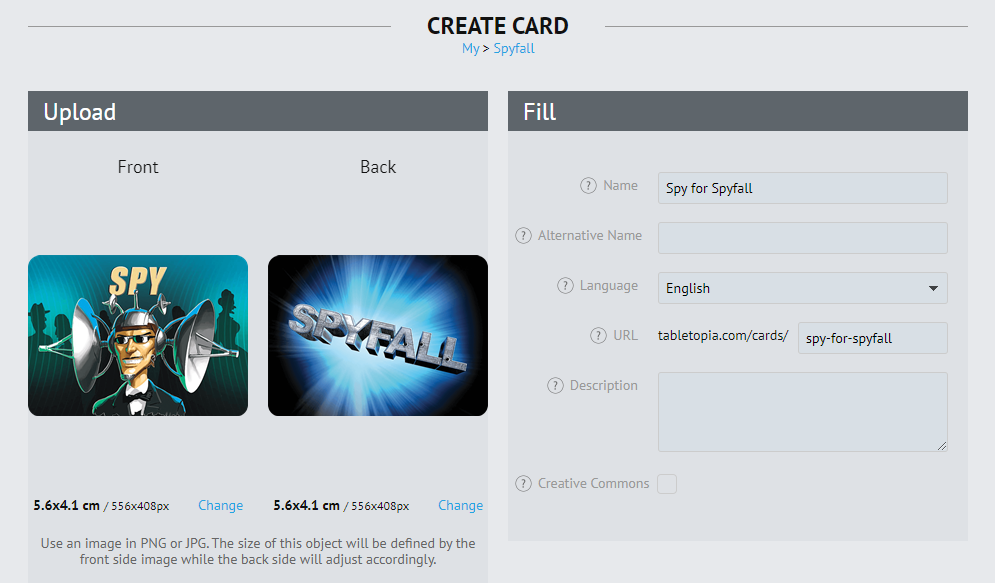
- Fill in the required fields in the Create Game window:
- Enter the name of your game (see our Naming policy). A public URL of the game is generated automatically based on the name you entered, but you can change it if necessary.
- Set the Access level of your game to ‘For personal use only’ until it is entirely finished.
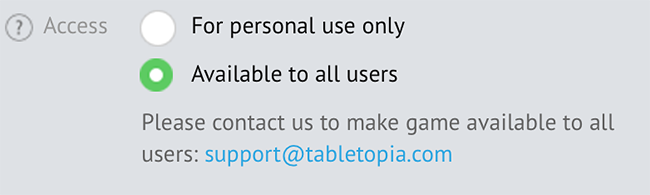
in this case only you and the administrators will be able to see this incomplete game. Also, it makes sense to be used for games that you are not ready to show to all users for any other reason.Tip: You can fill all the other fields of the form later when you are ready to do so. Check out How to fill in a game form for details.
- Click Save. The game will be created and added to your My Games section in Workshop.
Creating and Re-using Objects
 Now you need to create all the objects for your game:
- Go to your “My” catalog in Workshop.
- Click Create Object and follow the instructions from the article How to fill in an object form.
You may create as many objects as you wish. All the created objects will appear in the game group.
You can also re-use some other objects from the Featured or Sandbox sections of the Objects catalog:
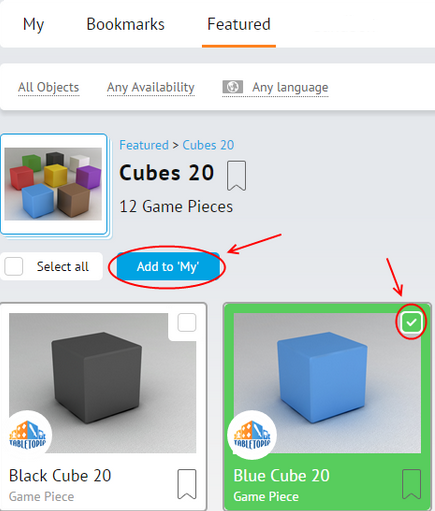 Go to Featured section to browse generic game objects like dice, pawns, counters etc., and objects created by other users.
- Check suitable objects and click Add to “My”.
- Select the destination folder, in this case, your newly created game, and click Add to “My”. The objects will be copied to your game folder in “My” catalog.
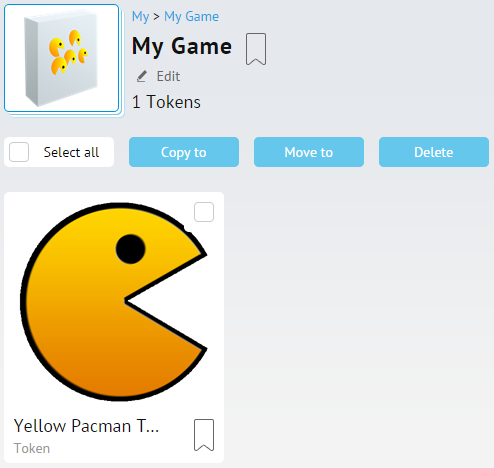
You can also add objects directly in your “My” catalog:
- Go to your “My” catalog in Workshop.
- Click your game folder.
- Click Add Object and find the object you want to add to your game.
Tip: Put all the objects you use in your game into its corresponding folder. It is easier to control, update, edit, and understand the structure of the game when all its objects are grouped in one place.
Tip: You can bookmark objects in the Featured or Sandbox sections: click ![]() in the right bottom of an object. To find the bookmarked objects later, go to Objects > Bookmarks.
in the right bottom of an object. To find the bookmarked objects later, go to Objects > Bookmarks.
More information on how to use the catalog read in Objects catalog.
Creating and Editing Setups
Game setups define a set of objects used in a particular variant of the game (e.g. the setup with objects for a 2-player game). Think of it as a setup you make for a physical board game before each gameplay. Find more details about setups in the Game setups article.
When you have finished adding objects to your game, you can start creating setups:
- Go to your game page (Workshop > My Games > “Your game name”).
- Click Create Setup. A new setup page is opened.
- Specify the number of players, language dependency, winner determination mode, if needed, access level for this setup, etc.. All the options may be changed later on when you need to do so.
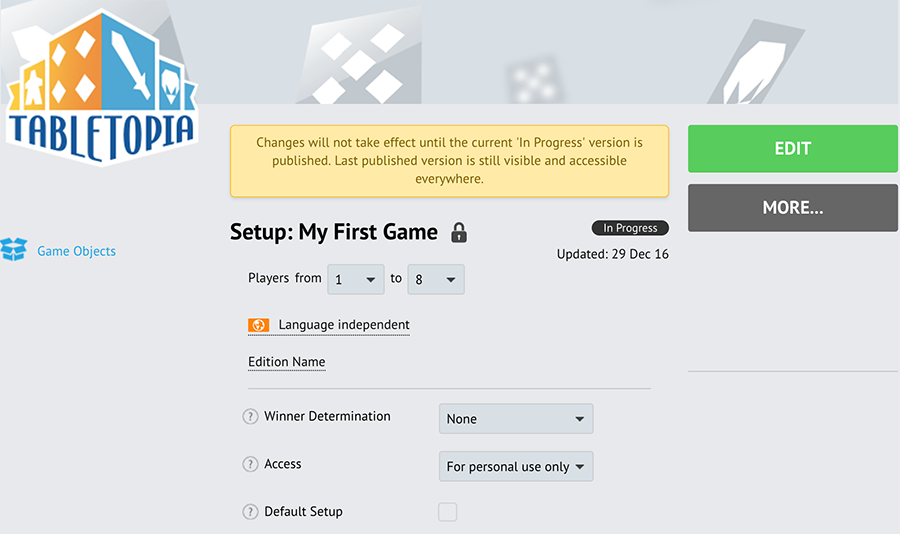
- Click Edit to open the game client in a separate window or tab of your browser and start the actual game creation process.
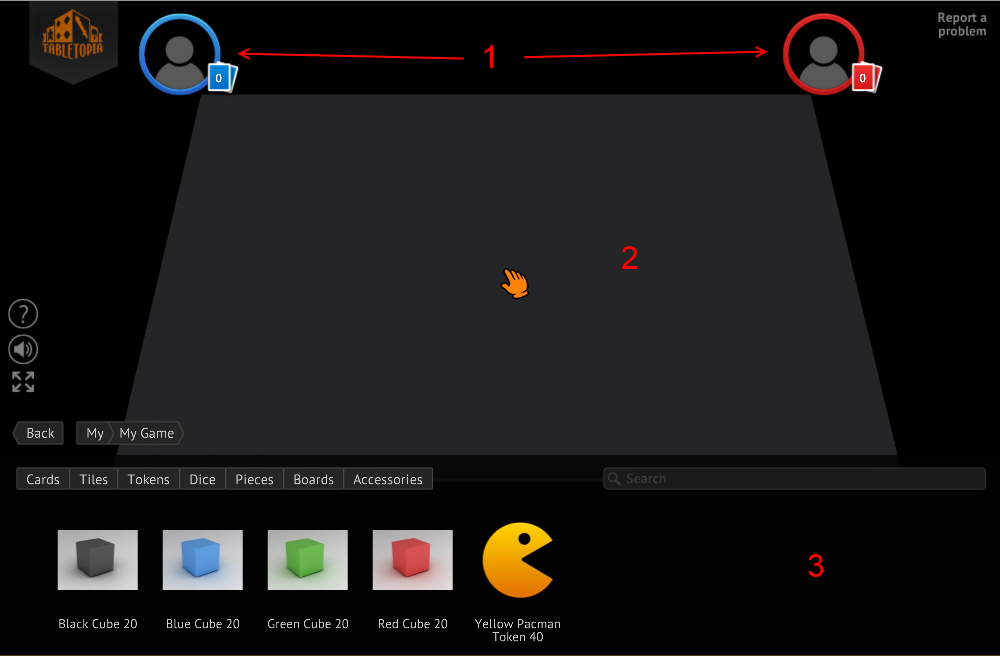
When the game client finishes downloading your setup, the following elements are displayed on the screen:
- Number of player seats equal to the maximum number of players you defined for this setup.
- The default universal rectangular grey table (80х120 cm) placed in the main area of the setup editor.
- The Objects browser containing only published objects you have in the “My” section of the game folder. By default, it shows the opened corresponding game folder.
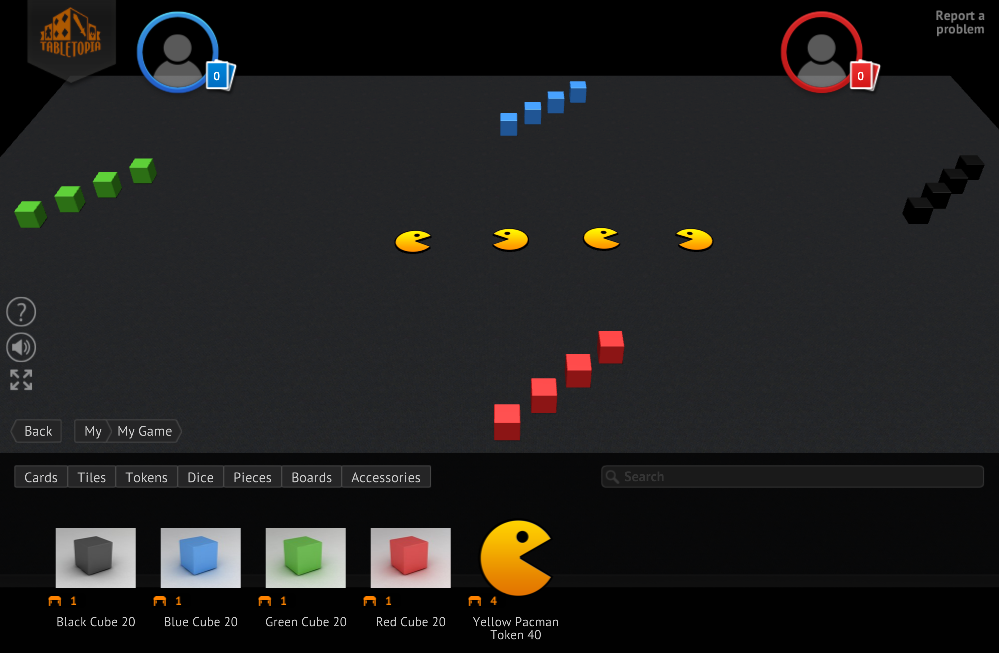
Here you can adjust the environment in which the game is played (change the size of a table, add a surface or skybox) and then add all the objects needed in the game.
Drag and drop the objects from the object browser onto the table and put them in the required order. When an object is created, you may manipulate it freely, flip, rotate, set its position and so on. Read more in Game setups and Interacting with Game Components.
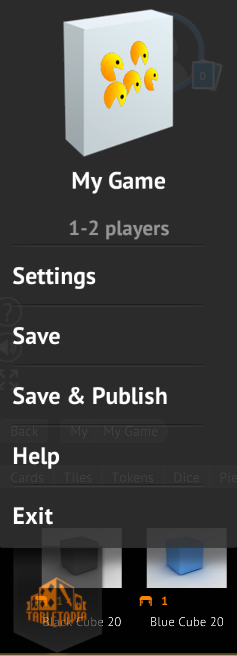
When you are finished or need to take a break, save the setup and exit:
- Click the Tabletopia logo in the top left corner.
- Click Save > Exit.
You can also save your setup and publish it at once (click Save & Publish > Exit). Do so when the setup is complete and you want it to be accessible via the player client and played.
Publishing Setups
Typically a setup goes through several states before it gets published.
![]()
- In Work: The first and the initial state of a setup. The setup is not visible to other users and can not be played. If you save the setup (without publishing it), the ‘In Work’ state will be kept.
- Publishing: A technical step, which is needed to gather all the necessary resources into one setup file and optimize them after you publish it. Usually, it takes from a few seconds to several minutes to complete this step after you click Publish on the setup page.
- Published: A setup in this state can be played and accessed by other players. When the setup is published, it automatically receives a new increased version number and a new publication date. Note that a setup with its access level set to ‘For personal use only’ will be accessible only to you and other players whom you send the link. See also Opening and Sharing Games.
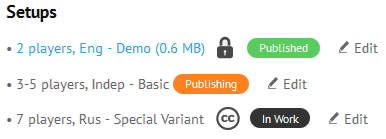
- Example of different setup states on the game page.
Important: If you change and save (without publishing) an already published setup, a new version of it will be saved in the ‘In Work’ state. Note that other users may not access this new version, they may see only the old published version. Publish the setup to make the new version visible or to change the Access level of the setup.
Publishing the Game
Congratulations, your setup is now published! To make your game available in the Playground:
- Go to the game page: Workshop > My Games > “Your game name”.
- Select setups you want to publish: click the setup to open its page.
- Set setup Access to ‘Available to all users’ > More > Publish.
- On the game page click Edit.
- Set game Access to ‘Available to all users’ > Save.
- Contact support@tabletopia.com for our moderators to review and open your game to other players. Read Opening and Sharing Games for details.
If you are keeping your game and setup ‘For private use only’, you may still test and share your setups by using the links in the Setups section of your game page. Read Opening and Sharing Games for details.
Also see our Usability Guide for Creating Games on Tabletopia for more information.