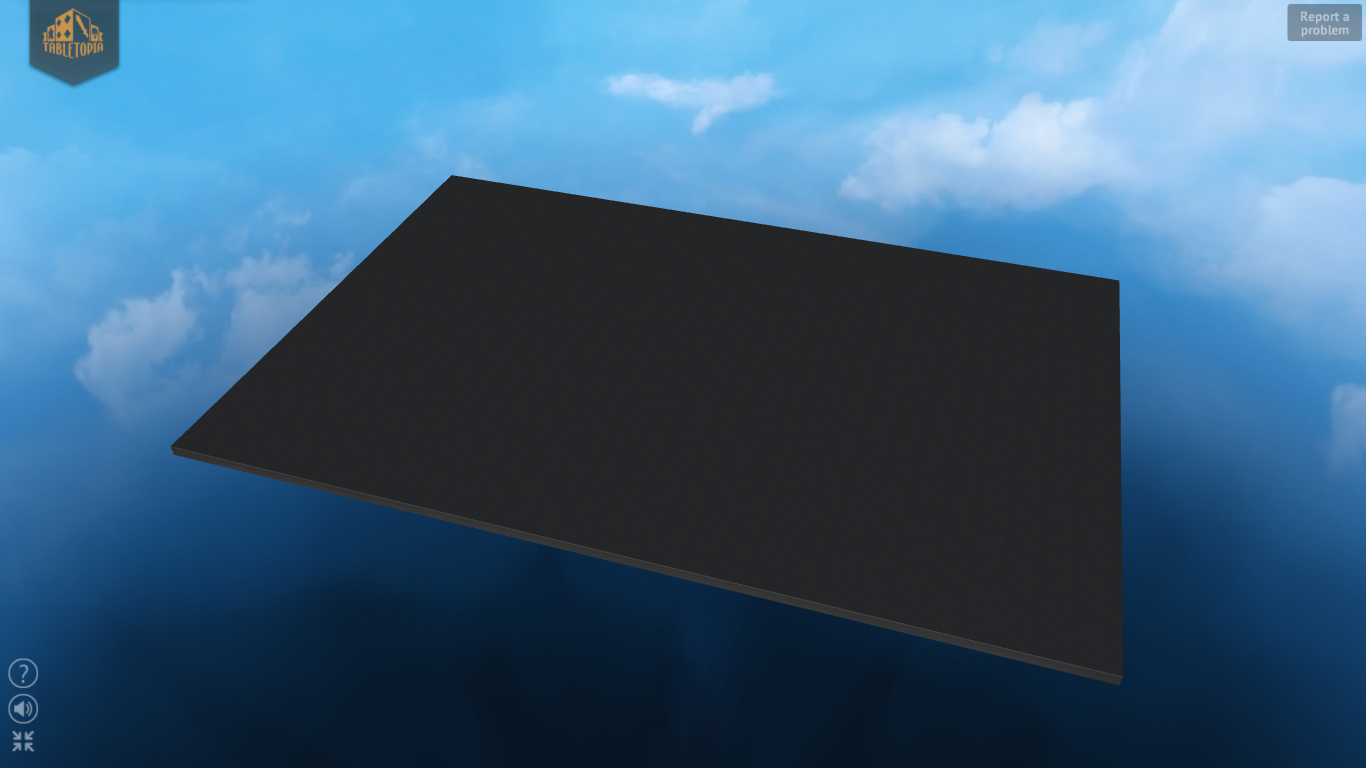
Table
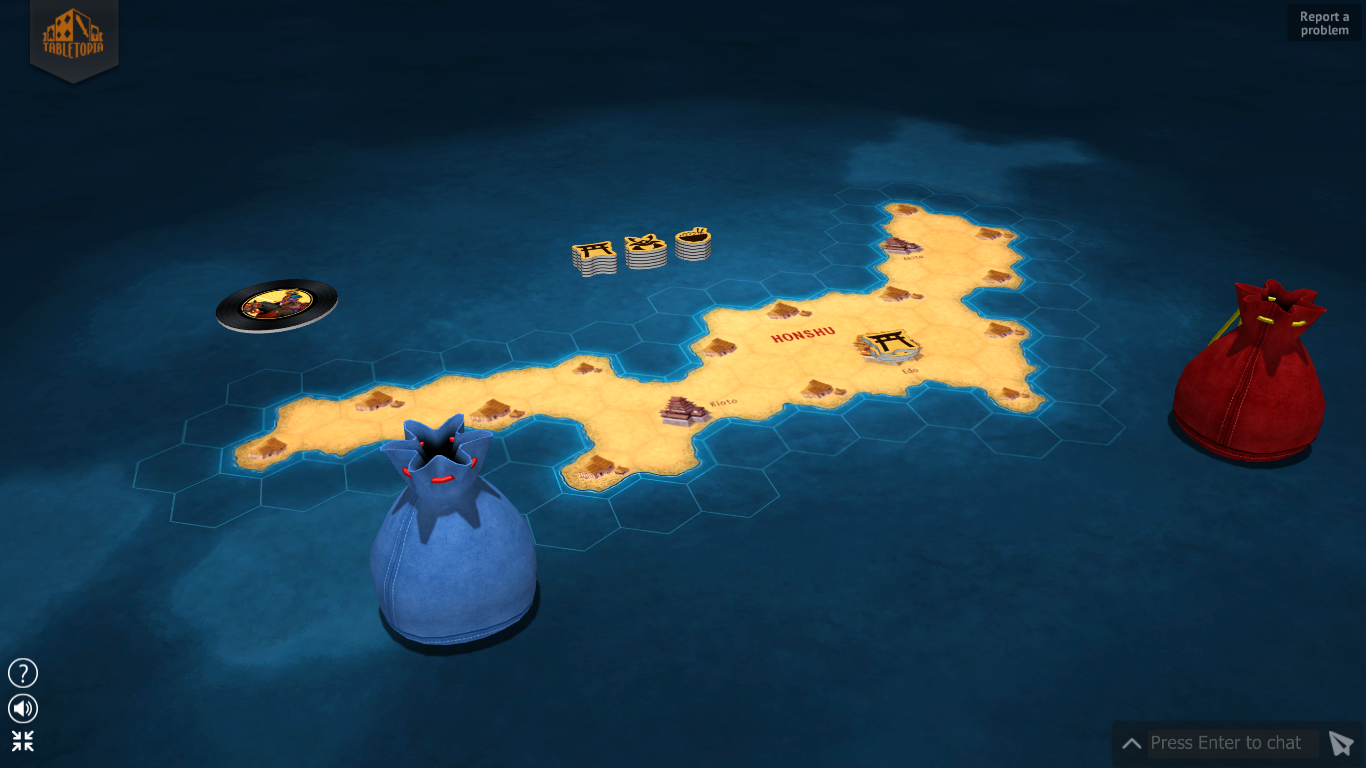
Table is the area where all the components of the game are placed.
Table is used when you need a restricted area for your game. It is better to use in games with a small number of components or in classic games to make a more traditional look for them.
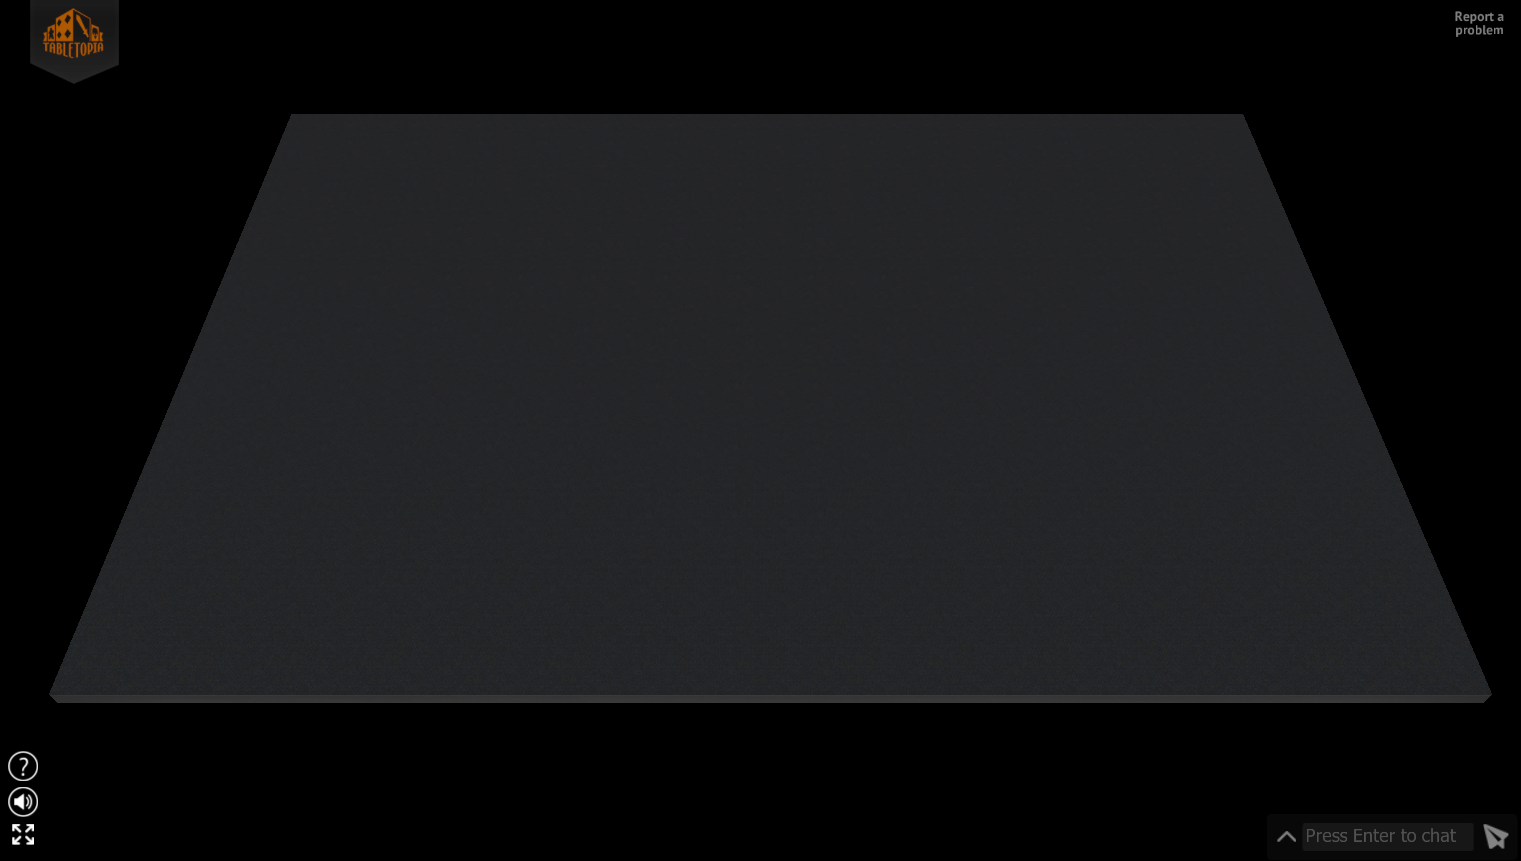
The default table in the system is much alike to an average-sized table in real life and equals 80×120 cm.
To increase or decrease the size of a table, right-click the table > Change table size in the dial menu.
A table can not be removed from a setup. It may be replaced with another table or a surface from the catalog.
To access the list of available tables: Go to Workshop > Objects > Featured > Tables.
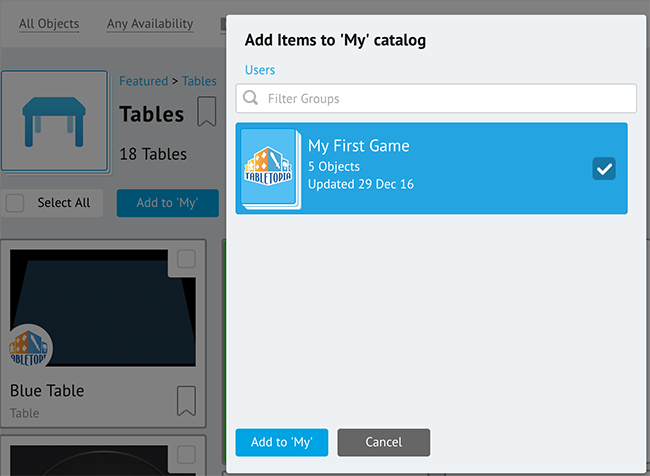 To add a table to your objects catalog:
- Click a table in the catalog to open its page.
- Click Add to My in the right upper corner.
- Select the folder where you want to add the table.
- Click Add to ‘My’.
Alternatively:
- Click the square checkbox on a table in the catalog to select it.
- Click Add to ‘My’ that is now enabled on the page below the page header.
- Select the folder where you want to add the table.
- Click Add to ‘My’.
The table will be copied to your objects catalog. You then will be able to add it to any game in your catalog.
Tip: You may put the objects outside the borders of a table. They will appear to float in the air.
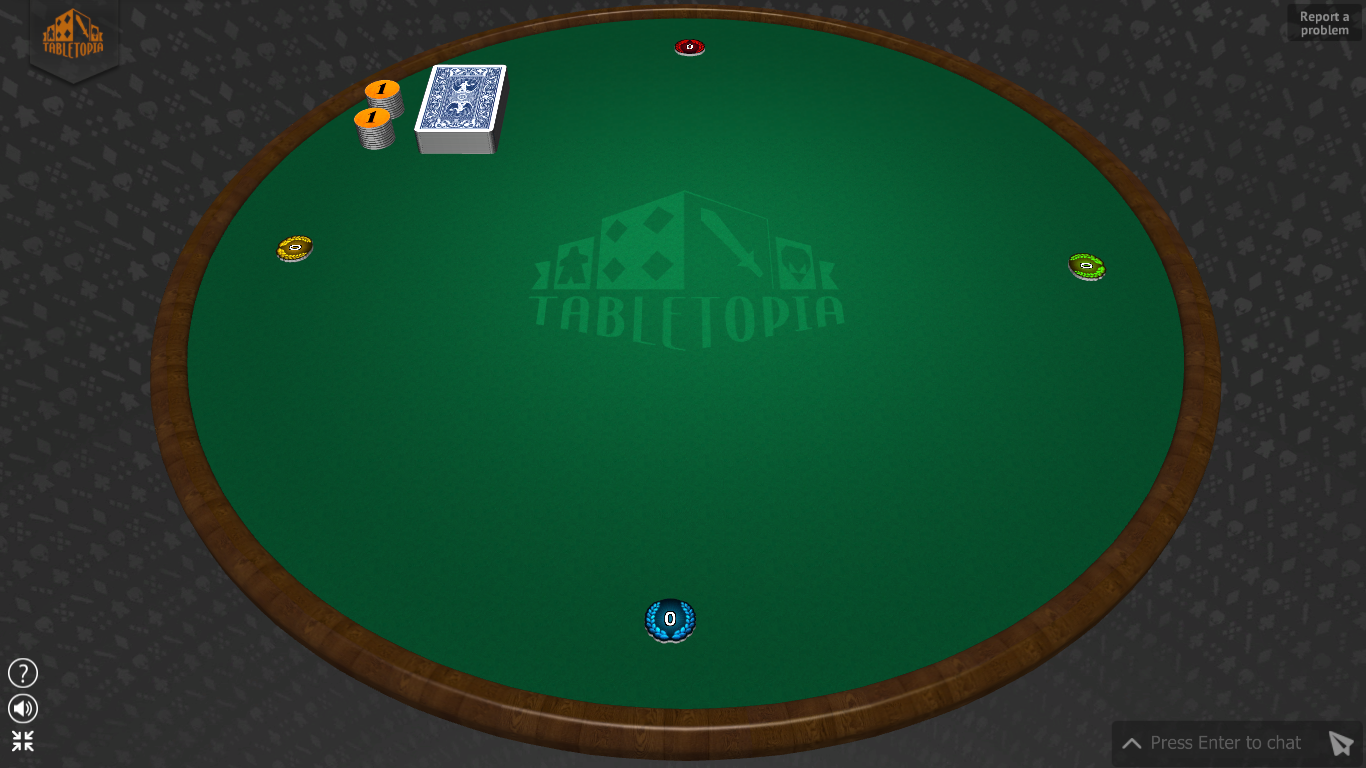
Surface
Surface is also the area where the game components are set up. Contrary to a table, a surface does not have any visual borders. So the players during the game do not feel restricted and may use the space more freely to place game components as they like.
Many games benefit from using a surface instead of a table. Surfaces are used to increase the game’s usability. To integrate the game board and other components with the surface, see Tips to Improve Visual Design of Your Game for inspiration and examples.
If you are on a Free account, you can add any of the available surfaces from our Workshop library to your game. With a Workshop Pro account you can create custom surfaces, see Creating a Surface.
To access the list of available surfaces: Go to Workshop > Objects > Featured > Surfaces.
To add a surface to your objects, see How to add table.
Creating a Surface
Users with Designer Pro account (see Tabletopia Designer Plans) can create custom surfaces to use in their games.
 To create a custom surface:
- Go to Workshop > Objects.
- Click Create Object > Surface.
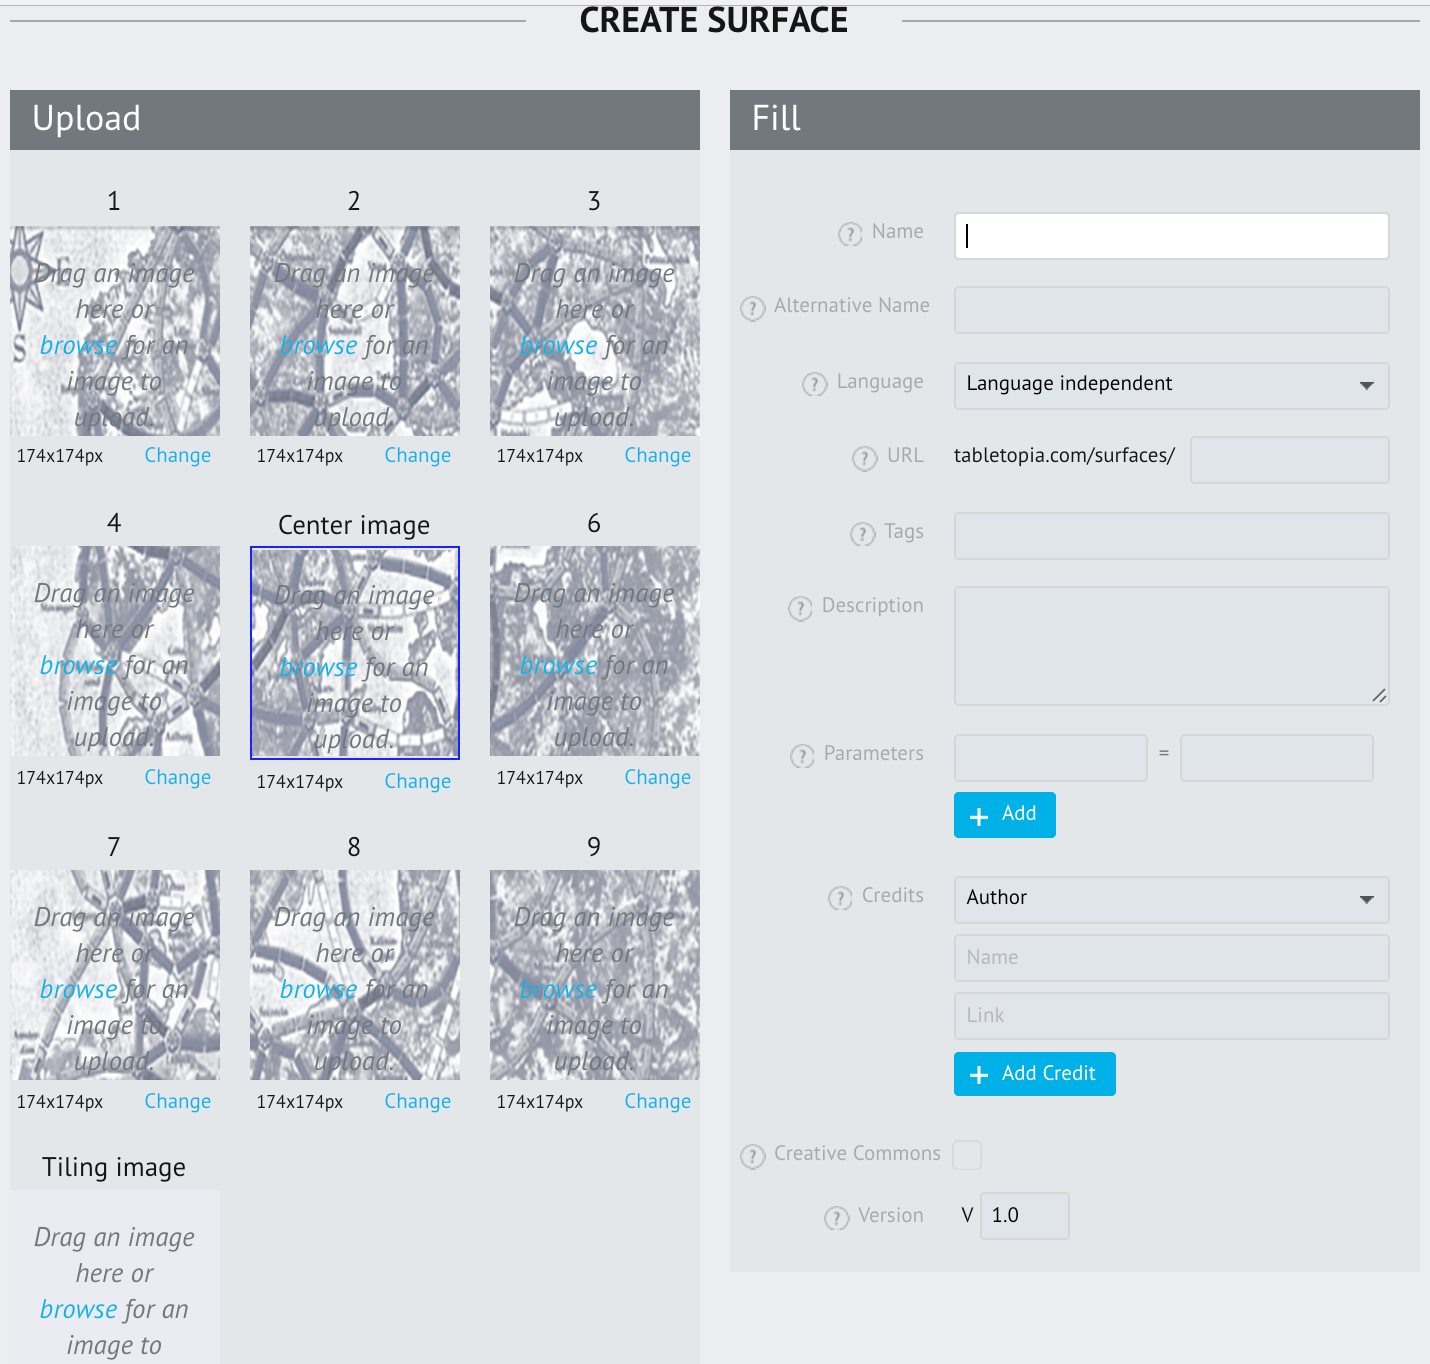
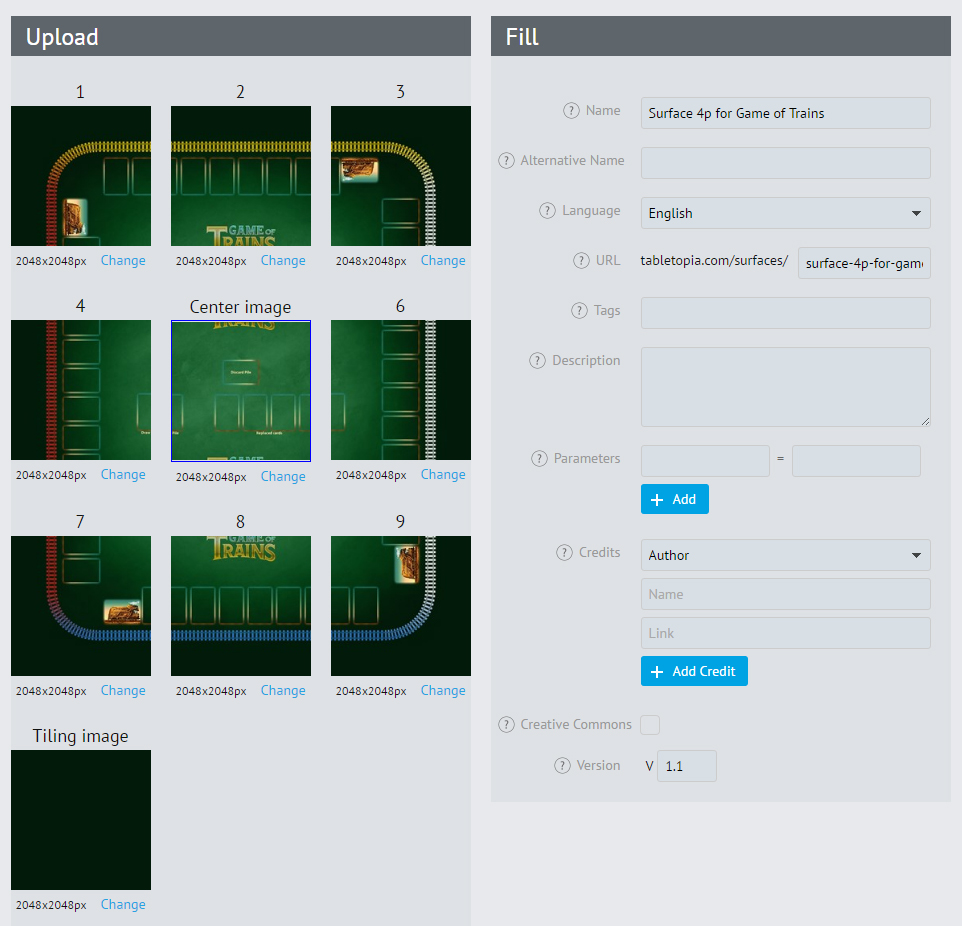
- Fill in all the necessary fields in the right-hand panel.
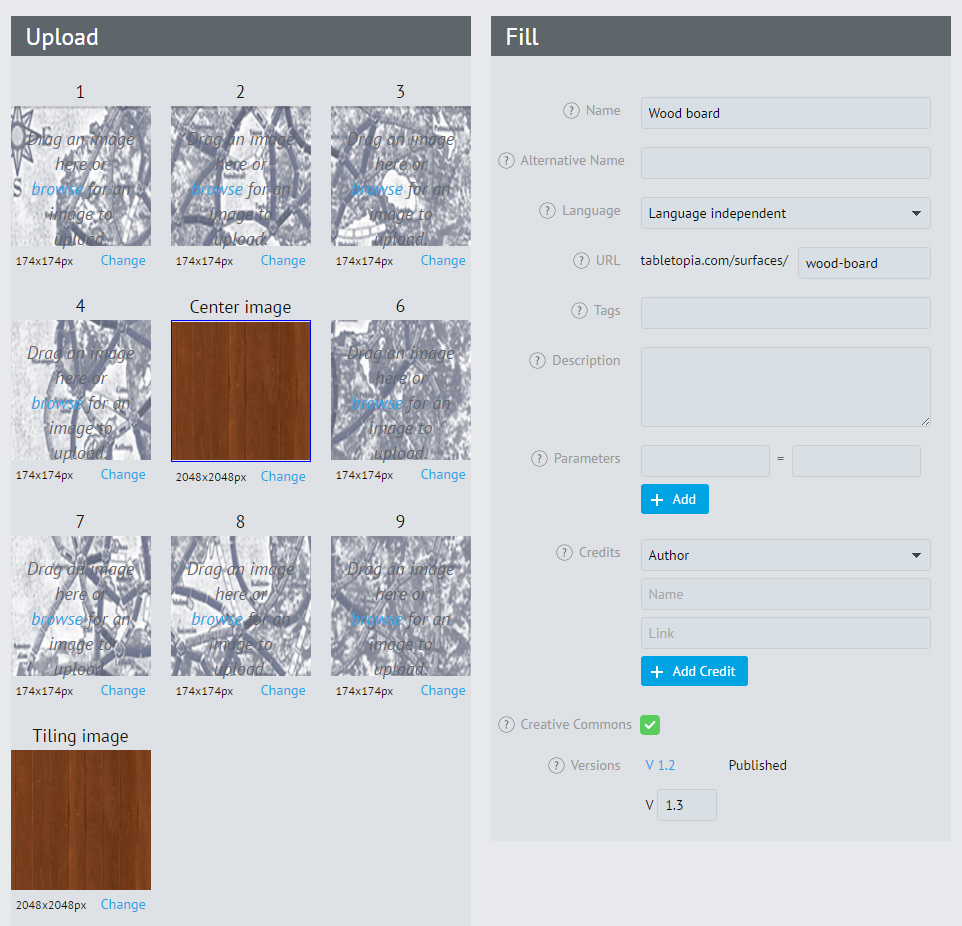
- Upload all necessary images in the left-hand panel. The resolution of all images must be equal (2048х2048px recommended). Make sure to upload Center image and Tiling image, they are required. See below for details.
- Click Publish. Your new surface will be created.
Images for Surface
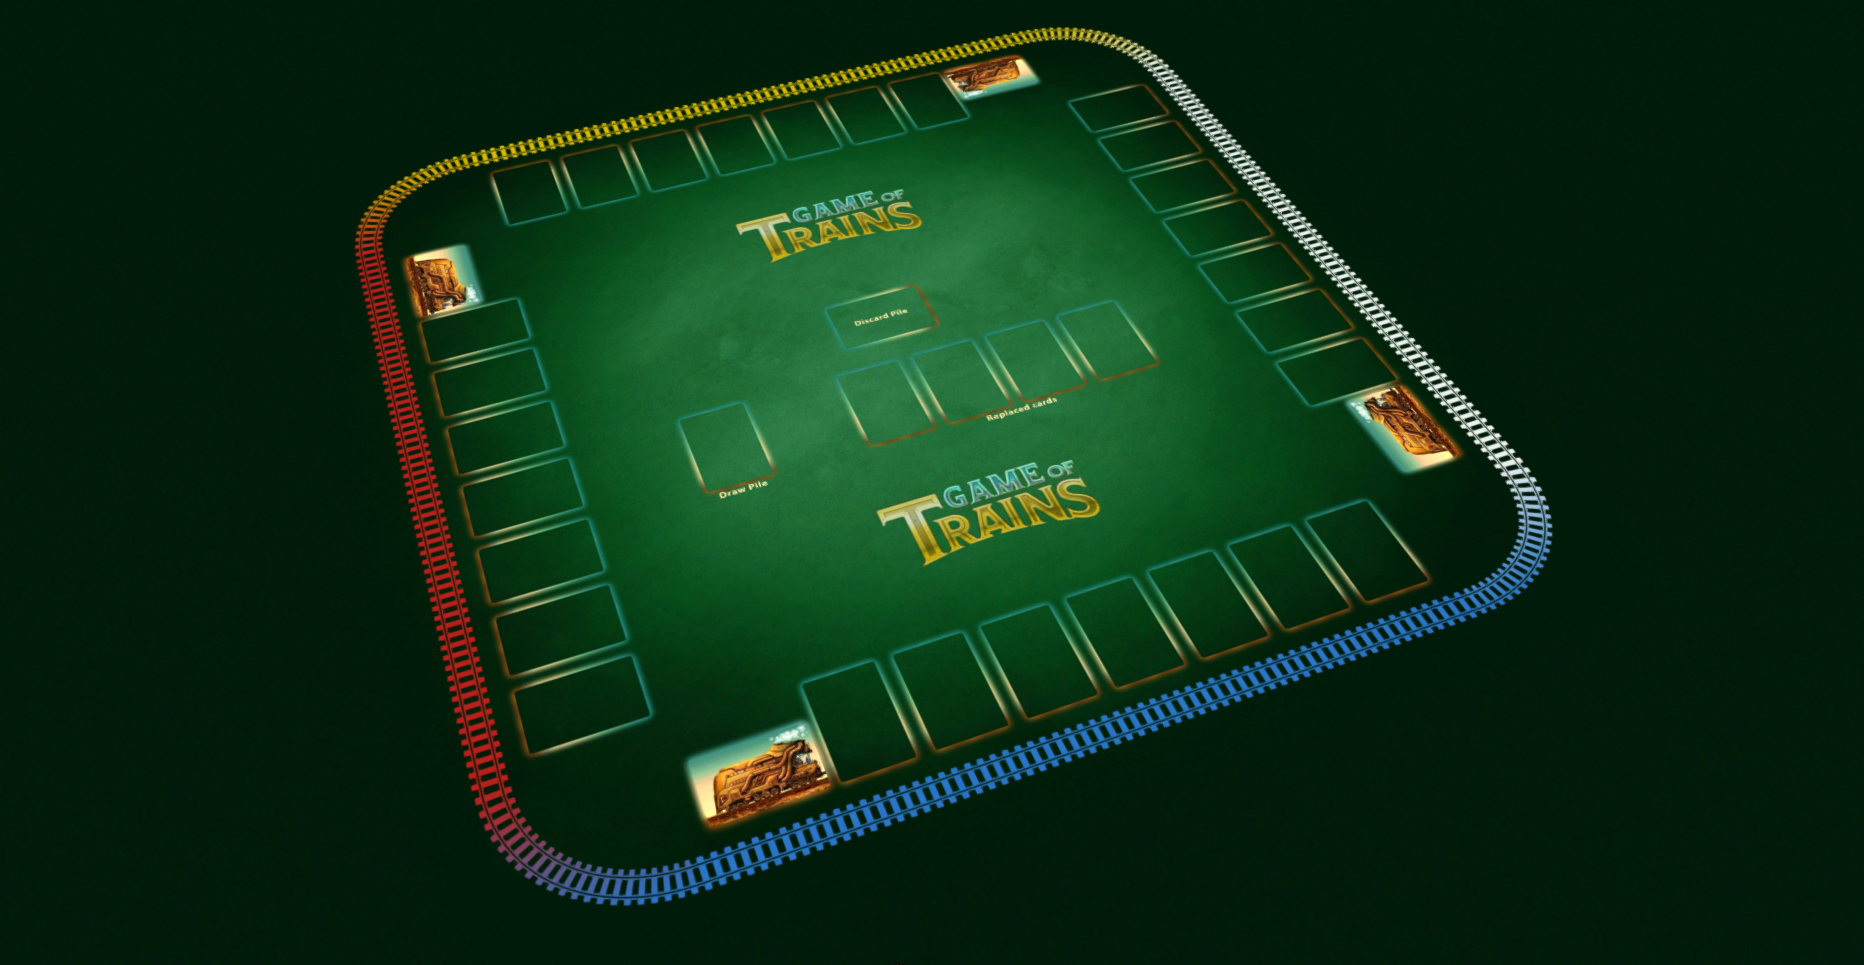
Center image and images 1–9 are the pictures that will appear in the center of the gaming area. You can upload a logo, a picture, a game board, etc. breaking it up into up to 9 square pieces.
Tip: Use .JPEG images for textured images or images with many details to reduce size.
Tip: Use Scaling to adjust the size of the image to reduce size of the surface.
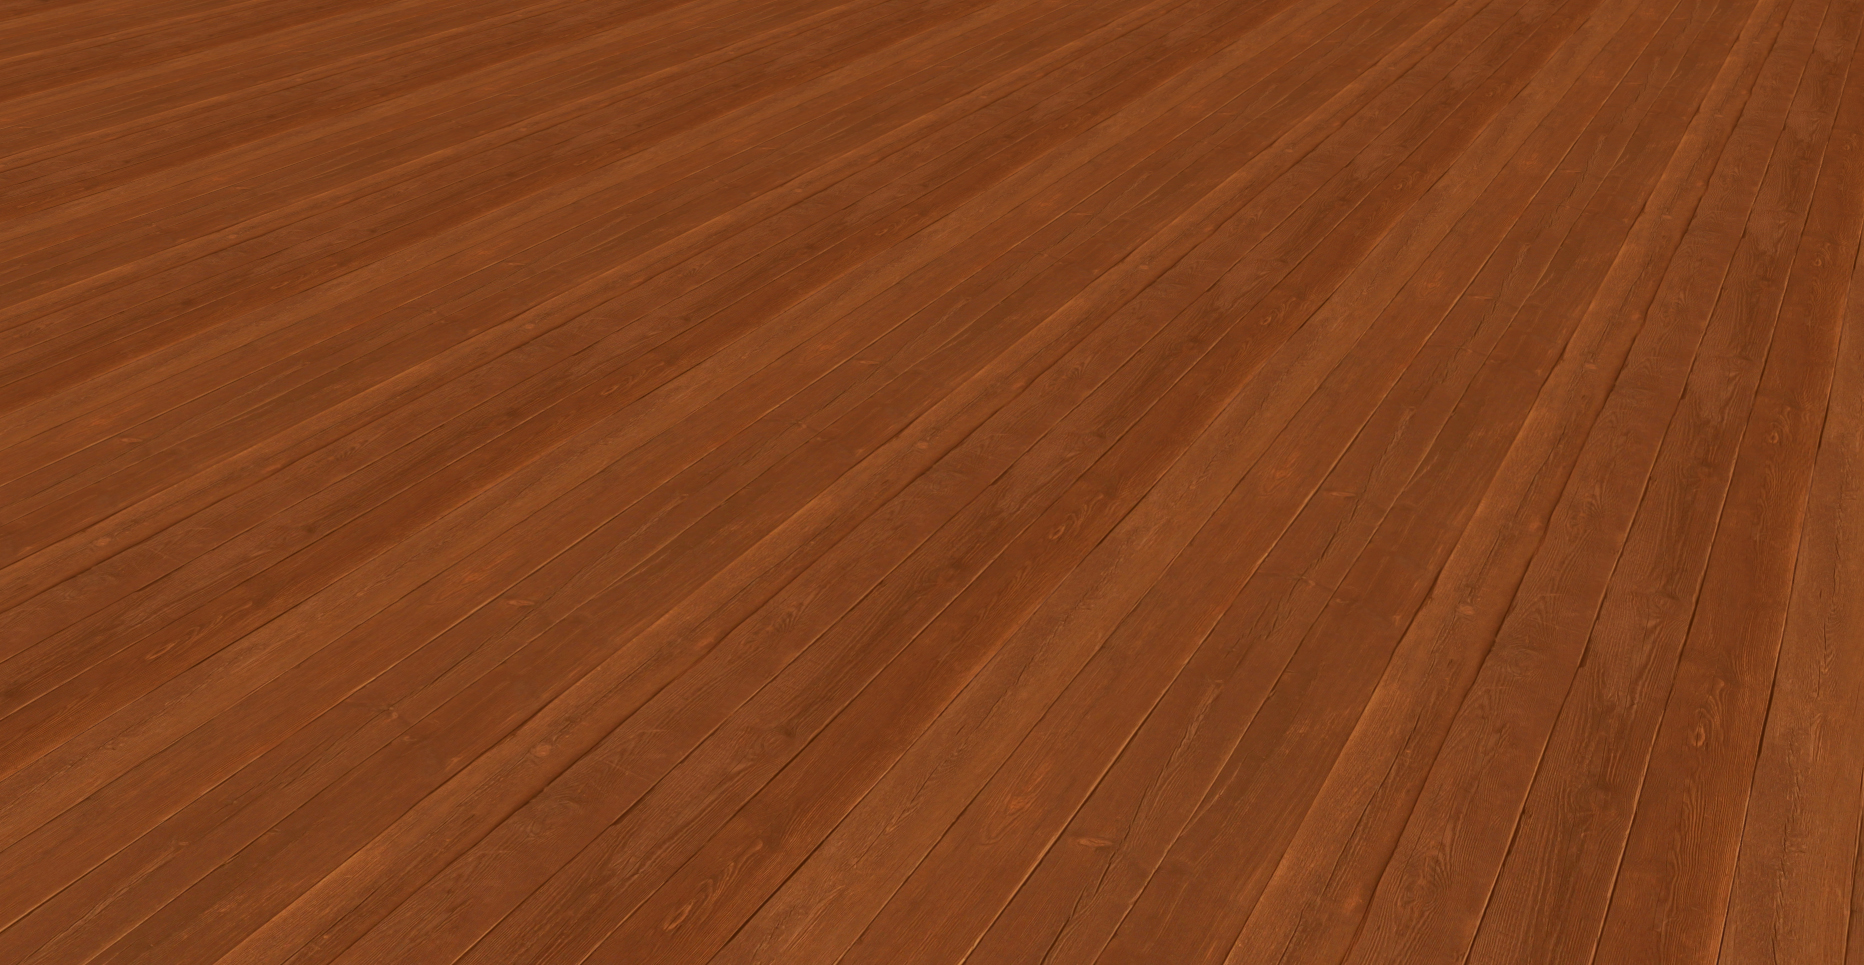
Tiling image is the image that will be multiplied to fill all the rest area of the surface. It is a single-colored image which encircles your center image.
If you use the same image for the Center image and the Tiling image, your surface will be a single-colored or single-textured stretch of area.
If you want to add a Magnetic map to your surface – it should be one file of the same size as all pieces of your surface. For example – if each of 9 pieces are 1000×1000 px, a magnetic map need to be 3000×3000 px. See more about creating Magnetic Map here.
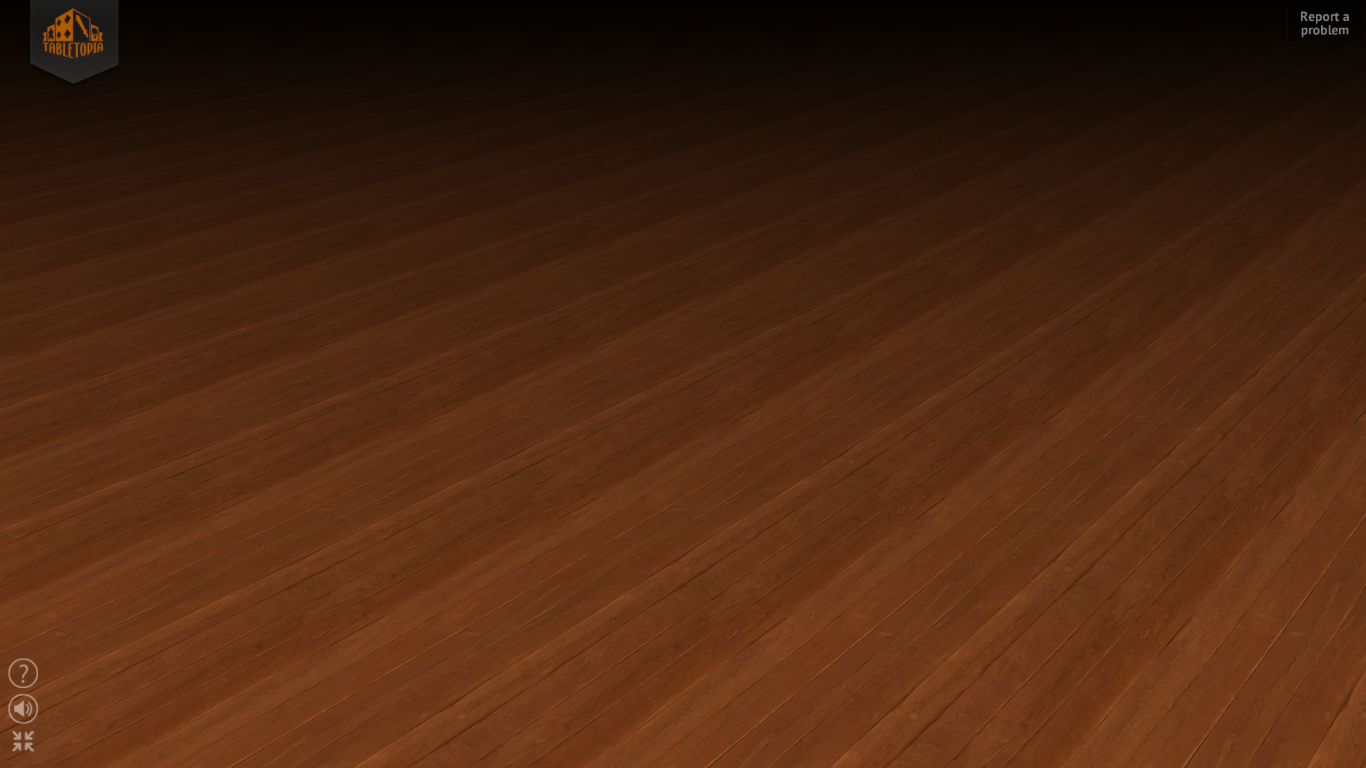
Skybox
The skybox is an element of 3D world that can be used to create a proper atmosphere for your game. A skybox represents surroundings of a game table — night sky, busy city, magic wood, etc.
To access the list of available skyboxes: Go to Workshop > Objects > Featured > Skybox.
To add a skybox to your objects, see How to add table.
Creating a Skybox
 You can also create your own skybox:
- Click Create Object > Skybox in Workshop.
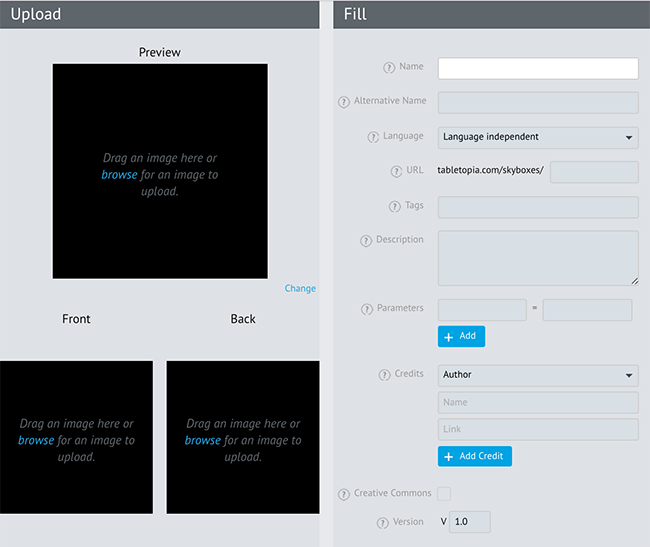
- Fill in all the necessary fields in the right-hand panel.
- Upload images for the front, back, right, left, up, and bottom views of the skybox. See below for reference.
- Click Publish.
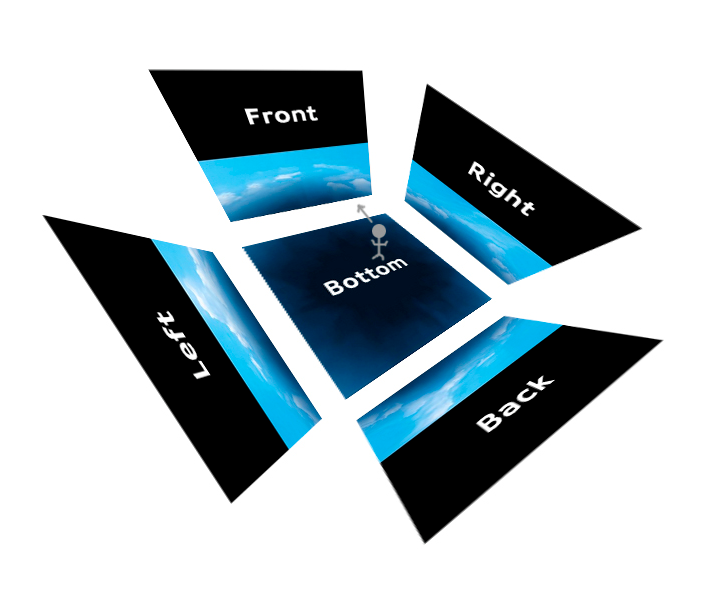
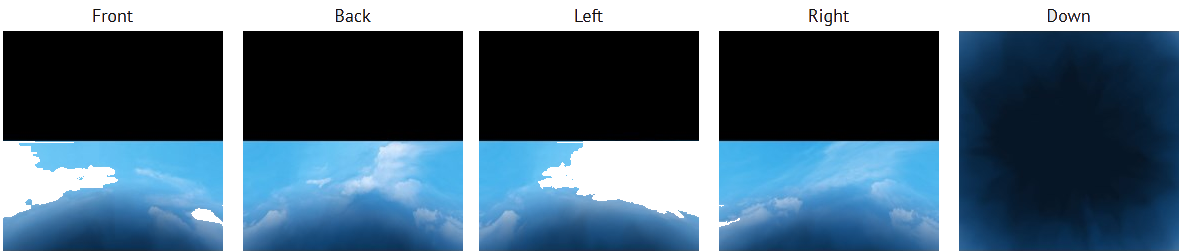
A skybox consists of five PNG or JPEG images. The players are put inside a big 3D room with its walls decorated by these images:
- Front is placed opposite to default camera view
- Back is placed behind from the default camera view
- Right is placed on the right side from the default camera view
- Left is placed on the left side from the default camera view
- Bottom is placed below the table.
Usually players can see only about ½ of the height of the side images. So it is better to put your image into the lower part of the wall and leave the upper part black.
Useful tips:
- All of the images must be square and of the same size in pixels.
- It is recommended that each side of the square be divisible by 2 (e.g. 512, 1024, 2048).
- The sides of the images must be perfectly aligned with one another and create a continuous panorama.
- To avoid the impression of being inside a cube you can use a graphical effect of a bended image, so the corners would not be visible to the eye.
Also see our Usability Guide for Creating Games on Tabletopia for more information.