Graphics play a very important role in most board games giving players necessary information, helping with the usability of components, supporting the game’s setting and creating atmosphere.
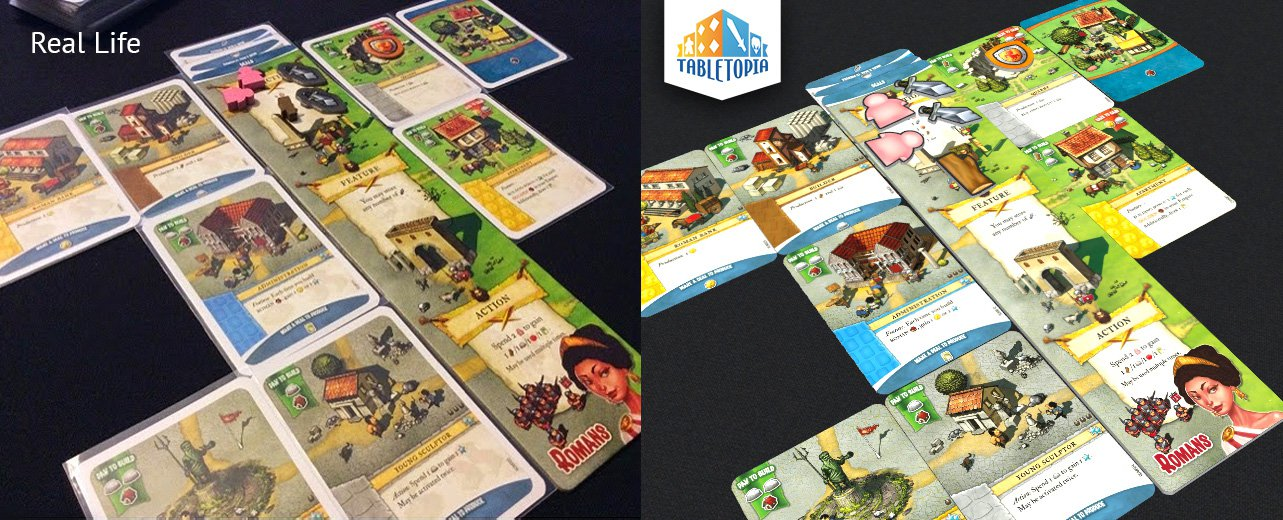
 With Tabletopia our aim is to allow game authors and publishers to adapt their game graphics from standard prepress or print-and-play files very quickly. Usually it will take only a few hours to create a game, see How to Create a Game for detailed process.
But you can go further and create objects which were not present in the “analog” game, e.g. replace abstract wooden resource cubes with good looking tokens or even 3D pieces, design custom player zones, etc. See Tips to Improve Visual Design of Your Game for suggestions.
This article will provide you with all the specific information about how to prepare and use graphics in Tabletopia and give you some useful tips.
Graphic Files
The standard variants for each game-designer to start with include:
- Prepress files. The game is already published and you have graphics you used to print it.
- Print-and-play. The game is not published but you have or going to playtest it and have the graphics prepared.
- No graphic files. You will have to make all the graphics from scratch in Tabletopia.
 If you have prepress or print-and-play files ready, you will only need to separate each component’s image into a different file.
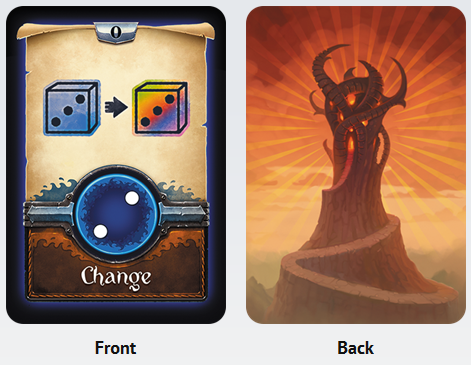
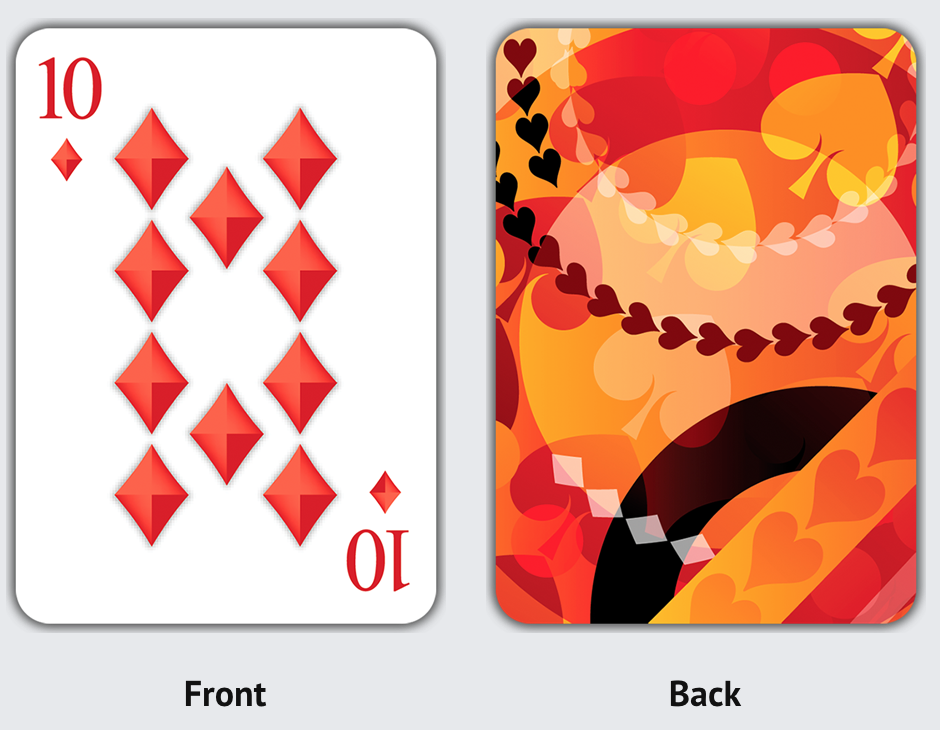
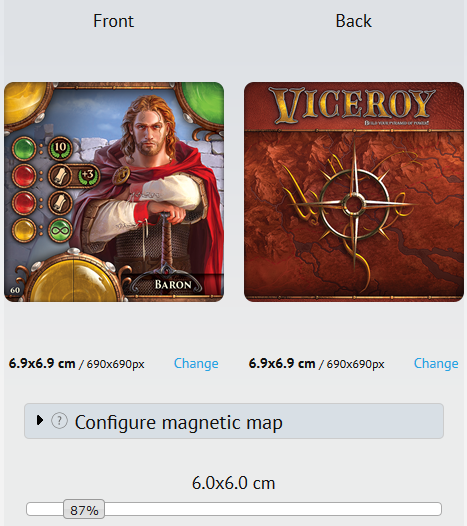
Note that front and back image of the component also must be in different files.
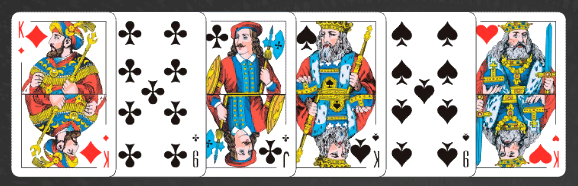
Example: For a deck of 52 cards you will need 53 image files: 52 front images and 1 back).
Two-sided components, like cards or tiles, must have front and back images of the same size.
Make sure all the components of the same type are exactly the same size in pixels. It is very important if you are going to use Stacks or Random Elements in your game. Even the slight difference in number of pixels is critical.
Tip: See Tips to Improve Visual Design of Your Game for advice on enhancing your game’s graphics and look and feel on Tabletopia.
Centimeter/Pixel Ratio
When adapting real-life games to the screen, it is important to keep the proportions of sizes of the components.
 On Tabletopia we are operating with sizes given in centimeters or millimeters. To render real-life objects measured in centimeters or inches to virtual world objects in pixels, we must convert cm to pixels.
On Tabletopia 10 pixels equal 1 millimeter.
This parameter was selected experimentally using cards with extensive use of text (e.g. Magic: the Gathering or Berserk). The text remains clear to read and the resulting file size of the card does not exceed the limits.
The default table available on Tabletopia is 80×120 cm and can be used as a reference for the size of all other game components (see Tables, Surfaces and Skyboxes): If you set the right size for the game board and other components, they will look exactly like the real components on a real table.
Scaling
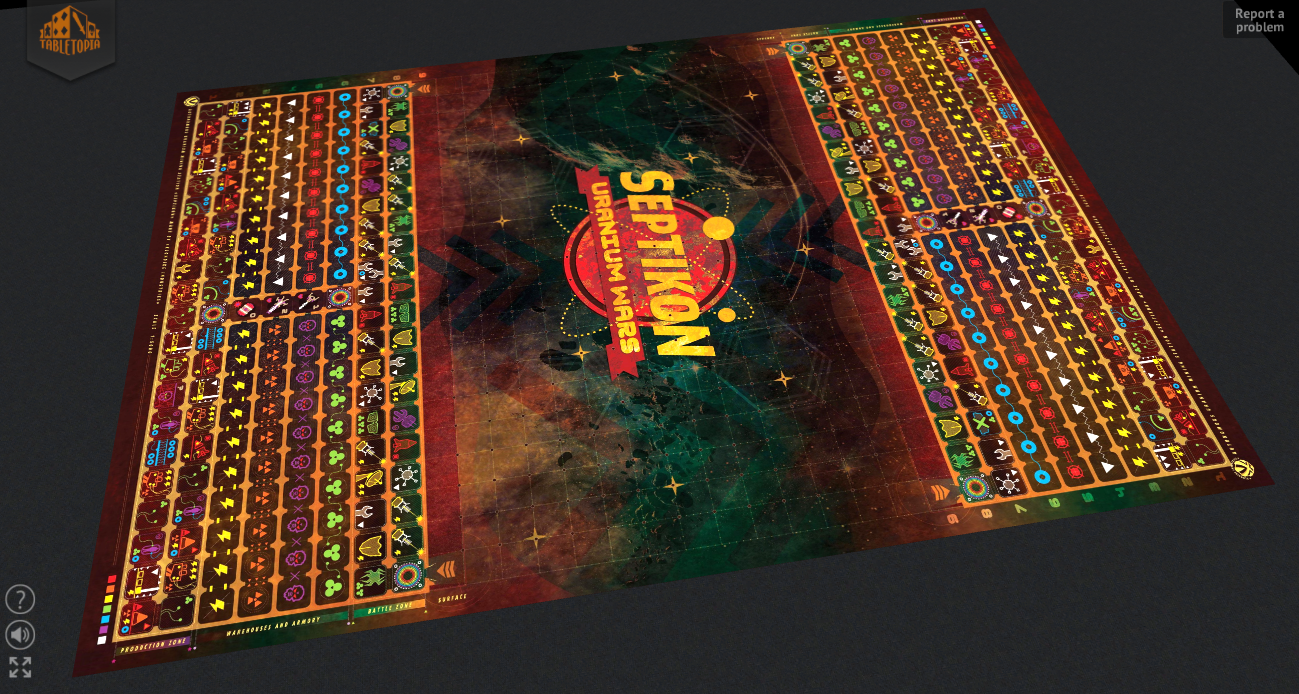
Sometimes using this proportion with big-sized objects (e.g. Game Boards) leads to an excess increase of the setup file size and consumption of computer resources.
With some objects it is reasonable to use scaling, which allows you to scale the object up to 400%, effectively reducing the given proportion up to 2.5 pixels in 1 millimeter and what is important — reducing the size of the image. Using this option is especially required for the games to be correctly displayed in Chrome.
Example: The game board in Septikon was shrunk in size from 8.3 to 2.65 megabytes by scaling a JPEG image to 200%.
Backward scaling down to 50% is also possible if you need to increase the resolution of an object. Another possible use of scaling is to precisely modify the size of an object in the game when you do not want to modify the original image.
Size of Game Objects and Setups
When deciding on the size and quality of ingame components take into account the overall size of your image sizes in megabytes and the resulting size of the setup file, which will be loaded by players. Bigger files tend to be loaded slower and consume more computer resources, this can cause discomfort for players.
Objects Size
Maximum size of one continuous one-sided object in the system is 1600×1600 mm using the scaling maxed to 400% (or 400×400 mm with scaling set at 100%).
Tip: Try not to exceed the image size of 2000×2000 pixels for each object. The system performance is better when the size is lesser.
Maximum objects size are 3-10 MB, depends of objects type, but you should try to keep it not more than 1-2 MB for the optimal performance.
Tip: In a rare situation when you need a bigger object (e.g. gigantic game board) contact Tabletopia’s Support. We will help you to find the optimal solution to this problem if it is possible.
Setup Size
Recommended setup file size is max 20 MB. The following recomendations will help you reduce the size of your setup:
- The quality of images should be good enough to read from and discern one image from another, but not too high.
- Use the same image several times in the setup (e.g. back image of the deck of cards), it will be added only once and the size will be adjusted accordingly.
 Decrease the size in pixels of the big images and scale them up by editing the settings of each image in Tabletopia’s system.
- Use JPEG images instead of PNG to decrease the size of the image when you do not need to set a complex shape.
- Split the game to several setups for different number of players or for different sets of components, see Game Setups for details.
Image File Formats
Tabletopia allows two different image file formats to be used in the game: .JPEG and .PNG.
.JPEG
Uses:
- Photographic images. The quality of the image is quite good and the size of the file is not as big as PNG.
- Very large game boards, when the size optimization is more important than the quality of the image.
Note that you can use JPEG images for rectangular objects only.
Pros:
- Size. Generally the size of a JPEG image is lower than the size of a corresponding PNG image, exported from the same source.

Cons:
 Quality. JPEG is a method of lossy compression for digital images, so it provides less quality. It is not well suited for line drawings and other textual or iconic graphics.
- Small palette bigger file size. Note that if an image has a small number of colors in its palette, a JPEG file may have bigger size than the corresponding PNG file.
- Rectangular shape. JPEG files does not support alpha channel transparency, so it is not possible to create objects with round edges or a complex shape.
.PNG
PNG image files are well suited and prefered in most cases for all of the objects in the game. This format is especially useful if you want to create objects of complex shape.
Pros:
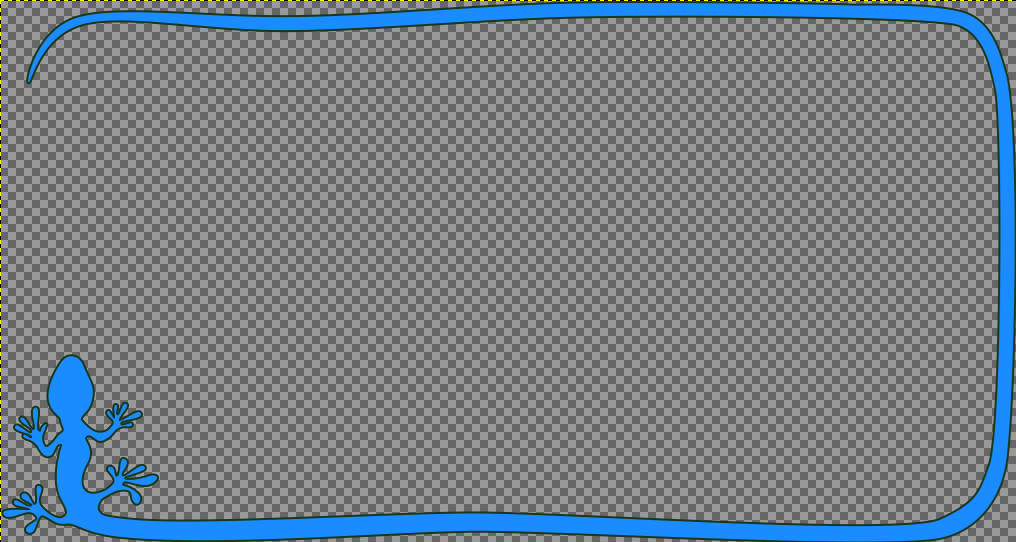
- Complex shape. The most useful application of .PNG format is to create objects of complex shape with transparent parts. One restriction still applies: There may not be transparency inside a closed image contour.
 Unfortunately images which consist of several parts divided by transparent areas cannot be correctly recognized by the system. There are two possible solutions available in this case:
- Make the area between parts of the image non-transparent (you can try to make it of the same color as the surface or board).
- Consider creating several different images, each image containing only one part of the initial image. Thus you will need to combine all the parts in the setup by hand.
Also note that the parts of the image with inner angles (e.g. the mouth area of ‘Pac-man’ style game token) support only visual transparency. Those areas act as a part of an object even if they are transparent.
- Quality. PNG is a lossless image file format, so your exported image will not lose quality compared to the original. Sometimes it may even be smaller than a corresponding JPEG alternative.
Cons:
- Size. In most cases the size of the PNG file is several times bigger than the JPEG file. Consider using scaling and/or JPEG files for game boards and other big objects.
Useful Tips
- Make borders for the components (especially cards) that will be taken by players into their hand. It adds a 3D look to them and helps to visually distinguish one from another.
- Don’t make components overbright. There is a source of light in the system and some images with high initial brightness may not look good. Test your objects in the preview mode, also you may place them all on the table and review them before creating the game setup.

- Don’t make components too dark. Special attention must be given to vertical tokens. It is
 better to increase the brightness of images used in vertical tokens.
 - Make the components easily distinguishable from one another at the mid-range distance from the table. If you use images that are too small or images with thin lines on a similarly colored background, they may look much alike to each other even from a low camera view and the players may become confused